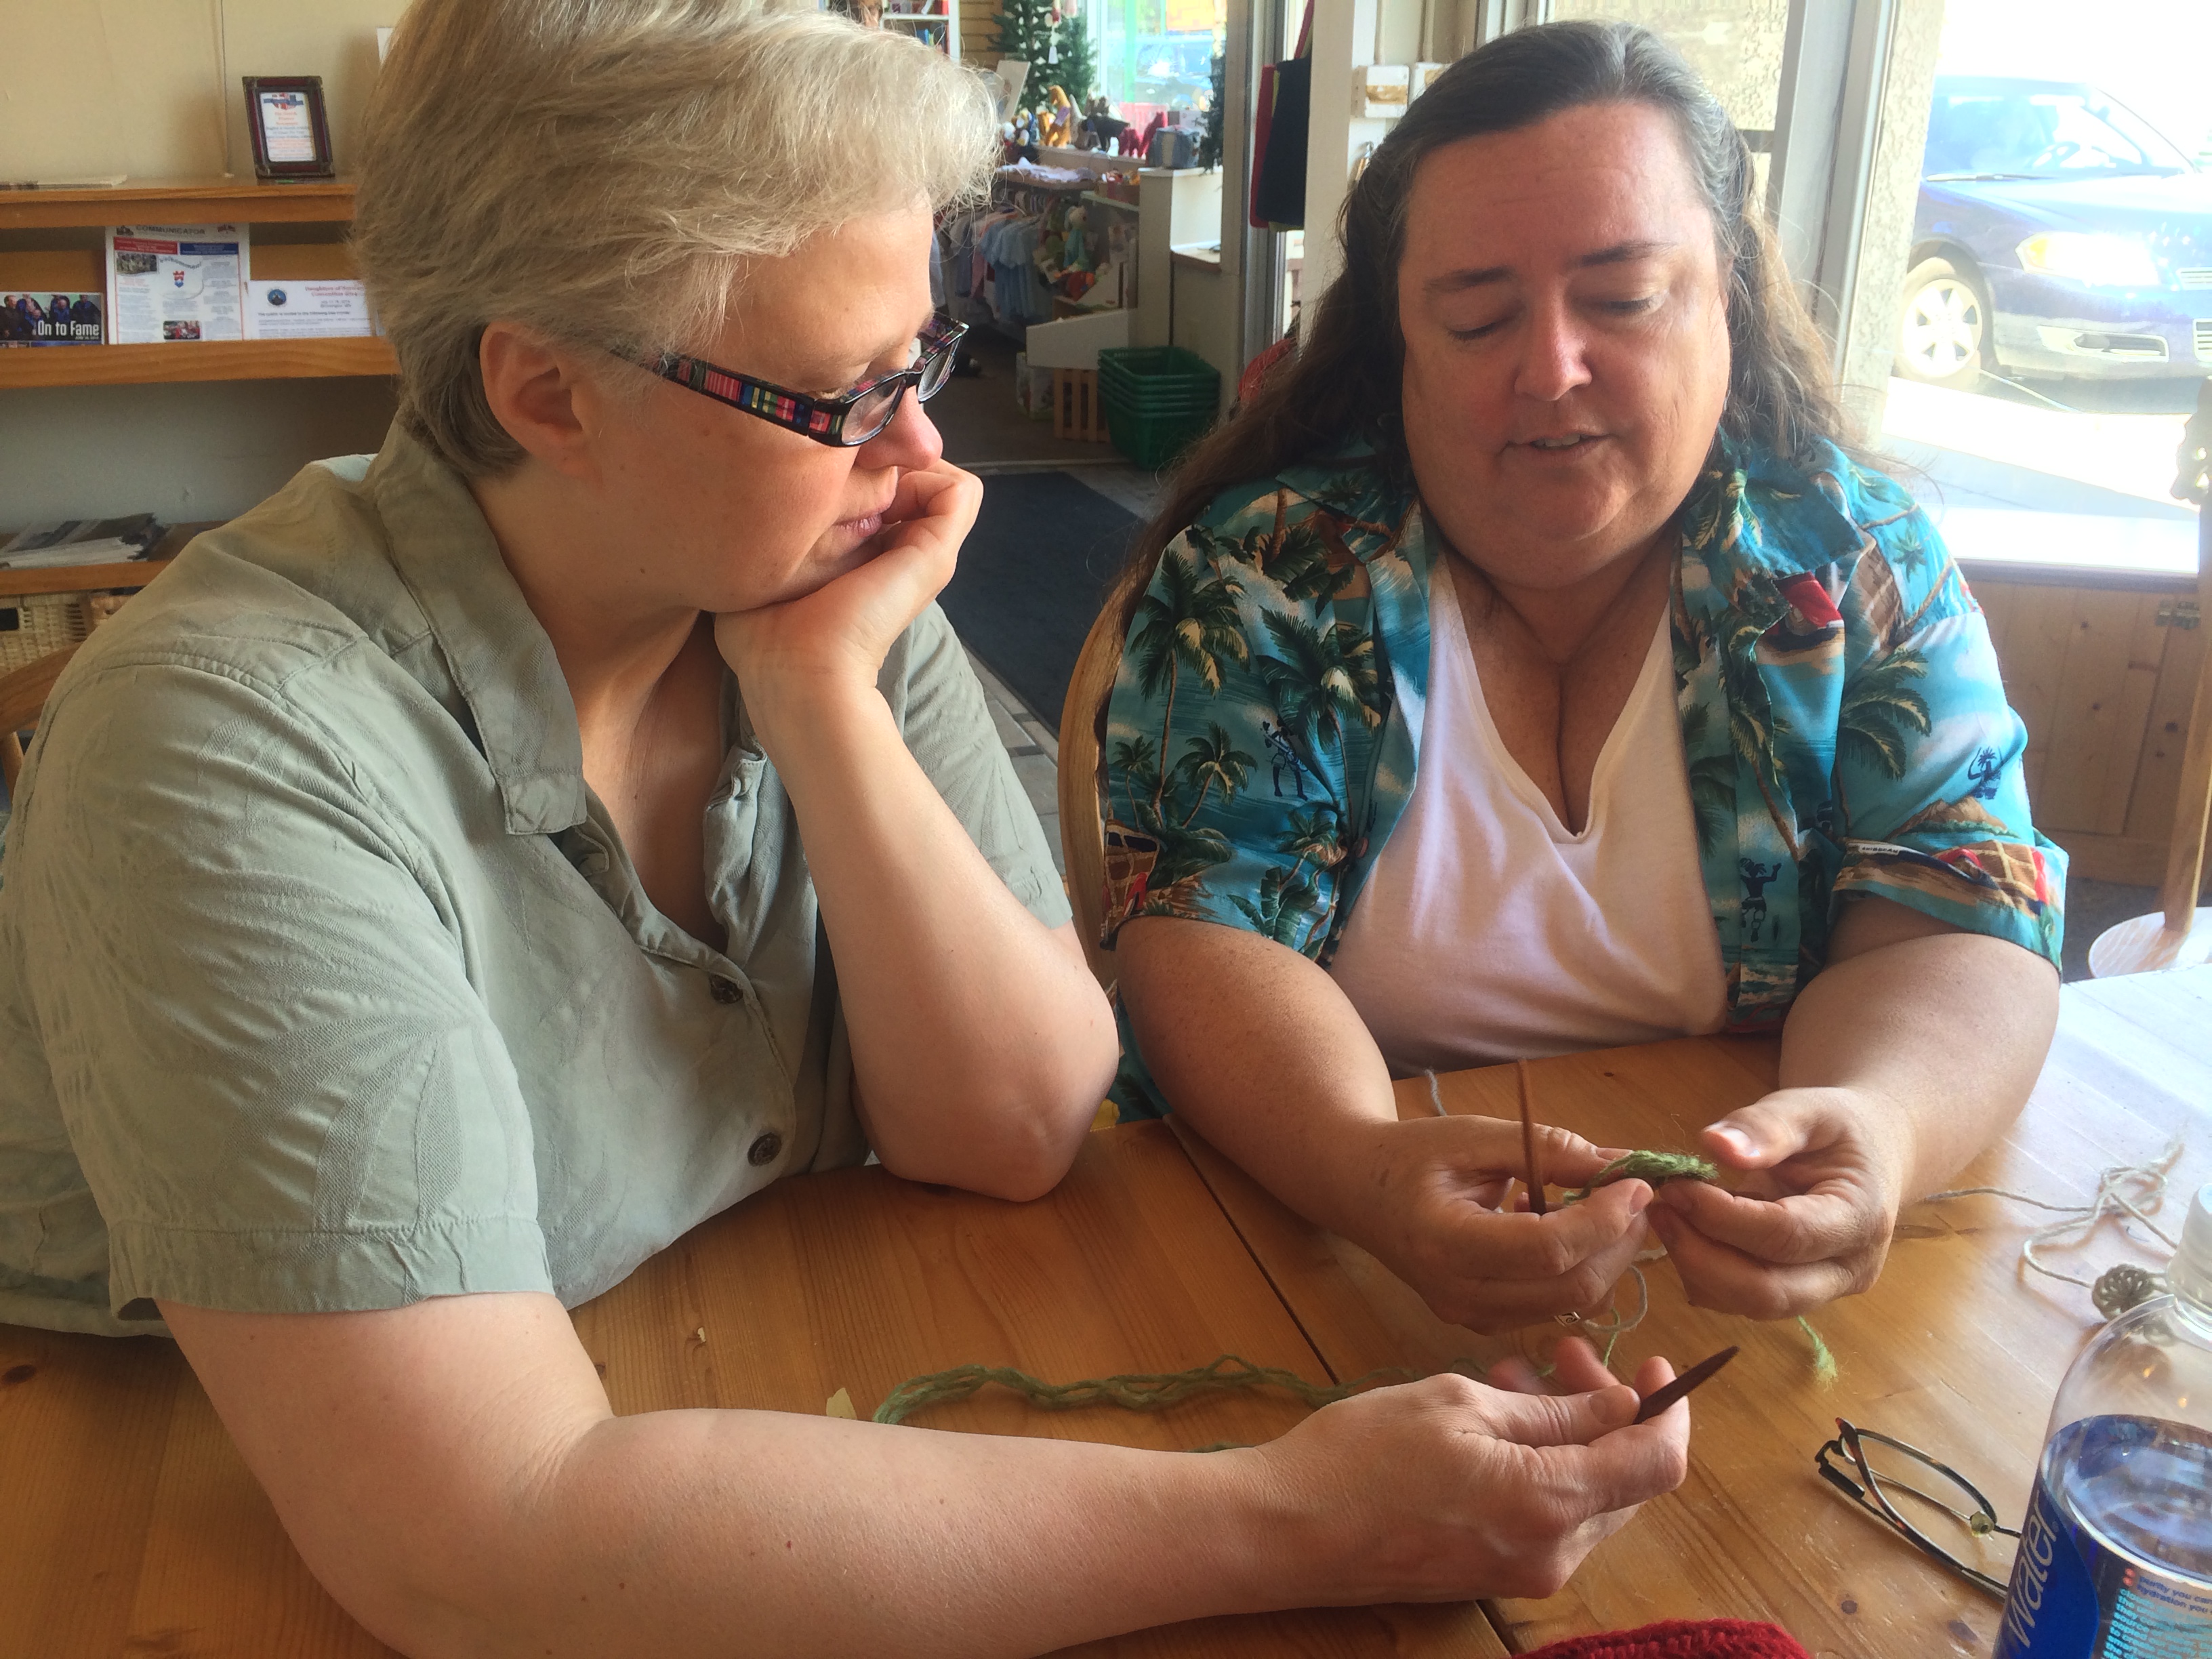
Learning the art of nålbinding is an ancient art. The stitch Renata Fossett is teaching a group of us on this Saturday morning isn’t abbreviated with a “k” or a “p” or a “yo.” It’s written like this: UOO/UUOO F1. That represents the unders, overs, change in needle direction, and interlocking with previous loops that go into making a Korgen stitch.
 We’re nålbinding. Gathered around the big pine table in Ingebretsen’s classroom with Fossett as our guide, we’re stepping back to a time before knitting was common in the Nordic countries—probably before knitting was done there at all. Nålbinding is how Viking Age people made hats, socks, mittens, and sieves for straining liquids more than a thousand years ago.
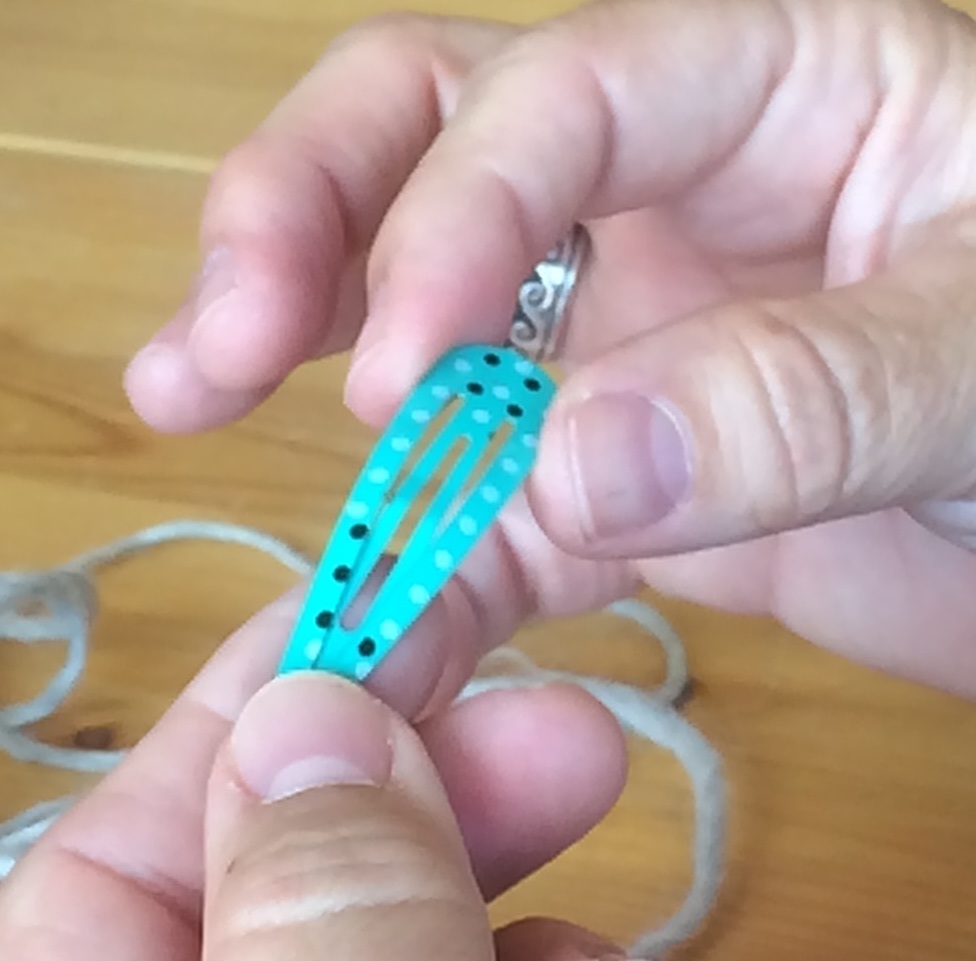 Where did Fossett get her bone needle, someone asks. And just as if she’d come from the Viking Age herself, she says, “I made it” from “something I had for dinner.” She also uses needles made from wood, antlers, and even very 21st-century hair clips, whatever is at hand.
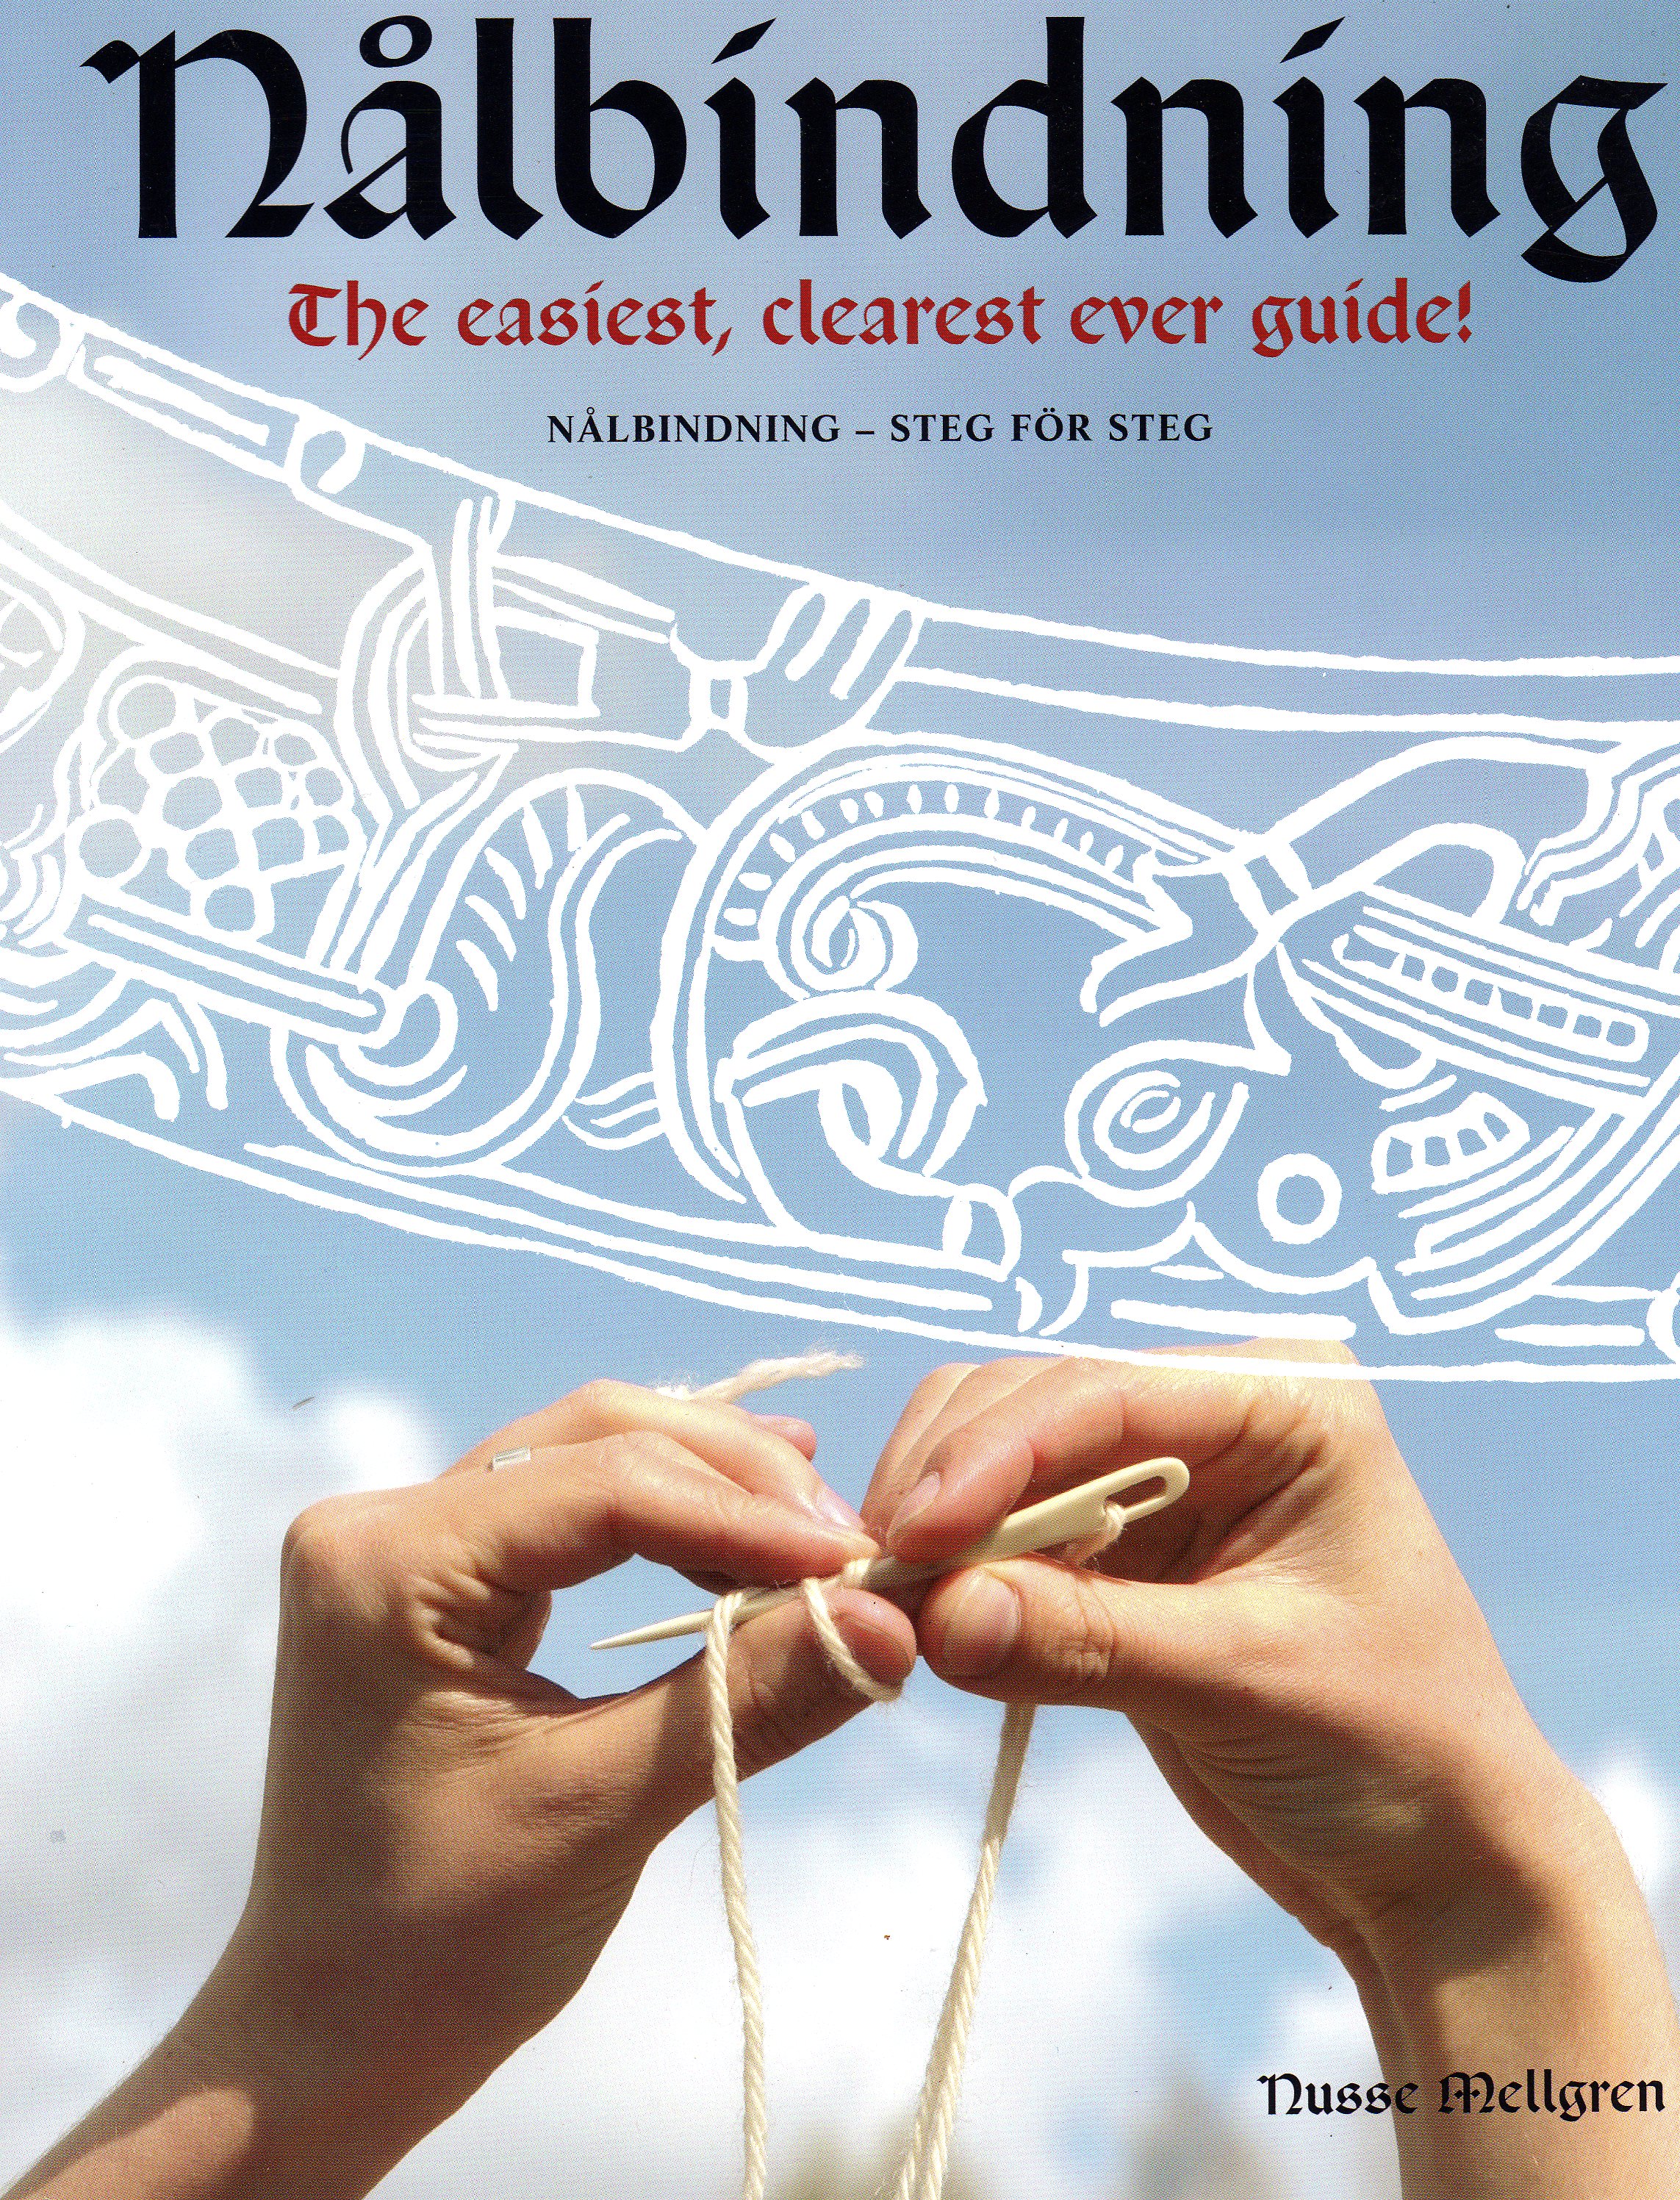 “Nål” sounds like “knoll” and means “needle” in the Scandinavian languages. Nålbinding is “to bind with a needle.” Fossett learned how about 15 years ago through a group she belongs to, the Society for Creative Anachronism, which is dedicated to preserving the skills and customs of Medieval and Renaissance Europe. Re-enactors of the Viking period, like Swedish author Nusse Mellgren, have also produced lots of step-by-step guides to nålbinding.
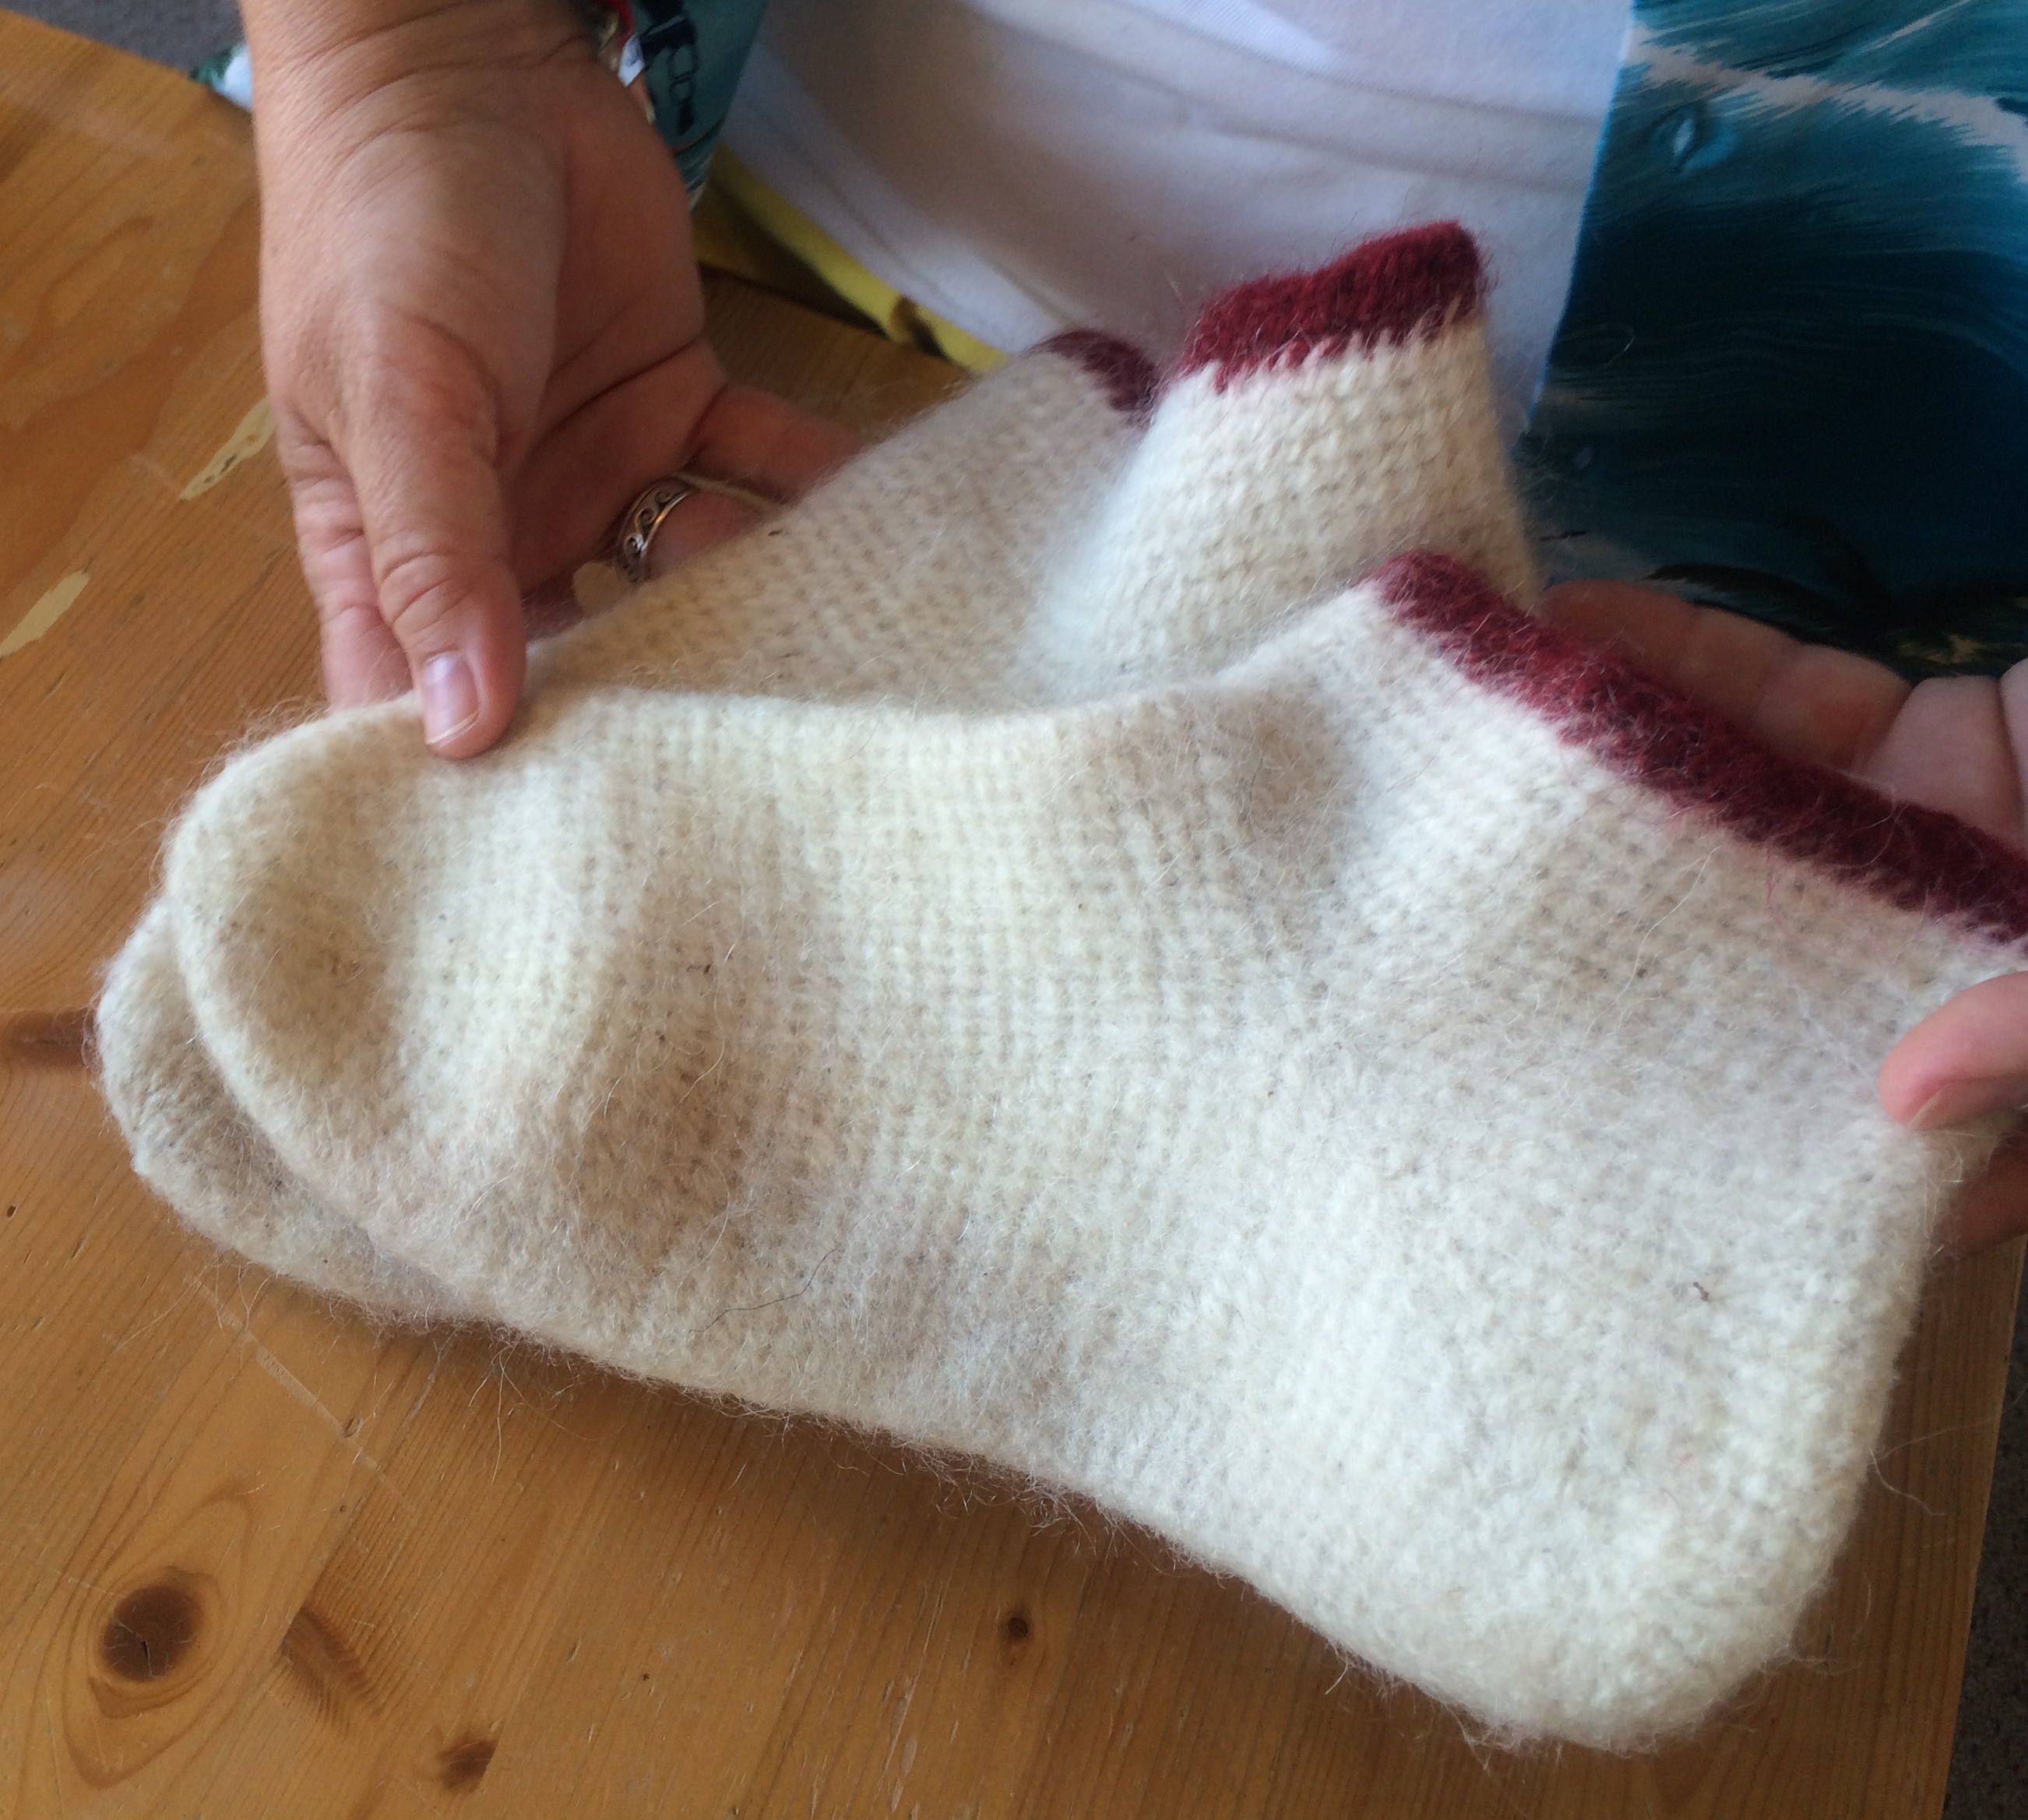 “The very first stitch I did was the York stitch, which was found in a sock in York in the Coppergate [archaeological] dig,” Fossett says. The English city of York was once a Viking settlement called Jorvik, and the Coppergate Sock, which she made her own adaptation of, probably belonged to a Scandinavian settler or trader in the 900s.
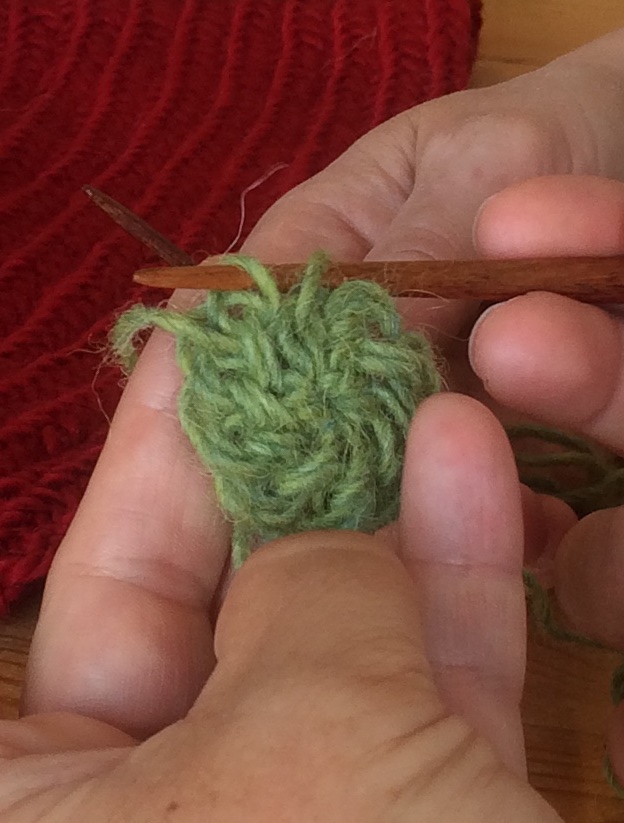 How does nålbinding work? Just like in knitting and crocheting, you make a fabric by interlocking loops of yarn, but there are a couple of big differences. Instead of pulling from a whole ball of working yarn, in nålbinding you use a short length of working yarn, just a few feet at a time. To make a stitch, you don’t pull one small loop through another, you draw your whole piece of yarn through the loops you want to interlock with, the way you’d pull a whole length of embroidery floss through fabric. You might pull your yarn through just one or two previous loops in your work or as many as nine loops, depending on the stitch you’re making. The more interlocking you do, the more elastic the finished piece.
“I don’t think we’ll ever know how they went from mostly everybody doing things in nålbinding to mostly everybody doing things in knitting,” Fossett says, but she can guess one reason why the shift took place in Europe a few hundred years ago. “Once they learned how to knit, it was so much faster than nålbinding.”
On the other hand, “nålbinding will not unravel,” she adds. If a stitch wears through and breaks, that stitch will need to be repaired, but there’s no danger of it running and unraveling the whole fabric. In fact, there’s a bit of lore that stems from nålbinding’s durability, Fossett says.
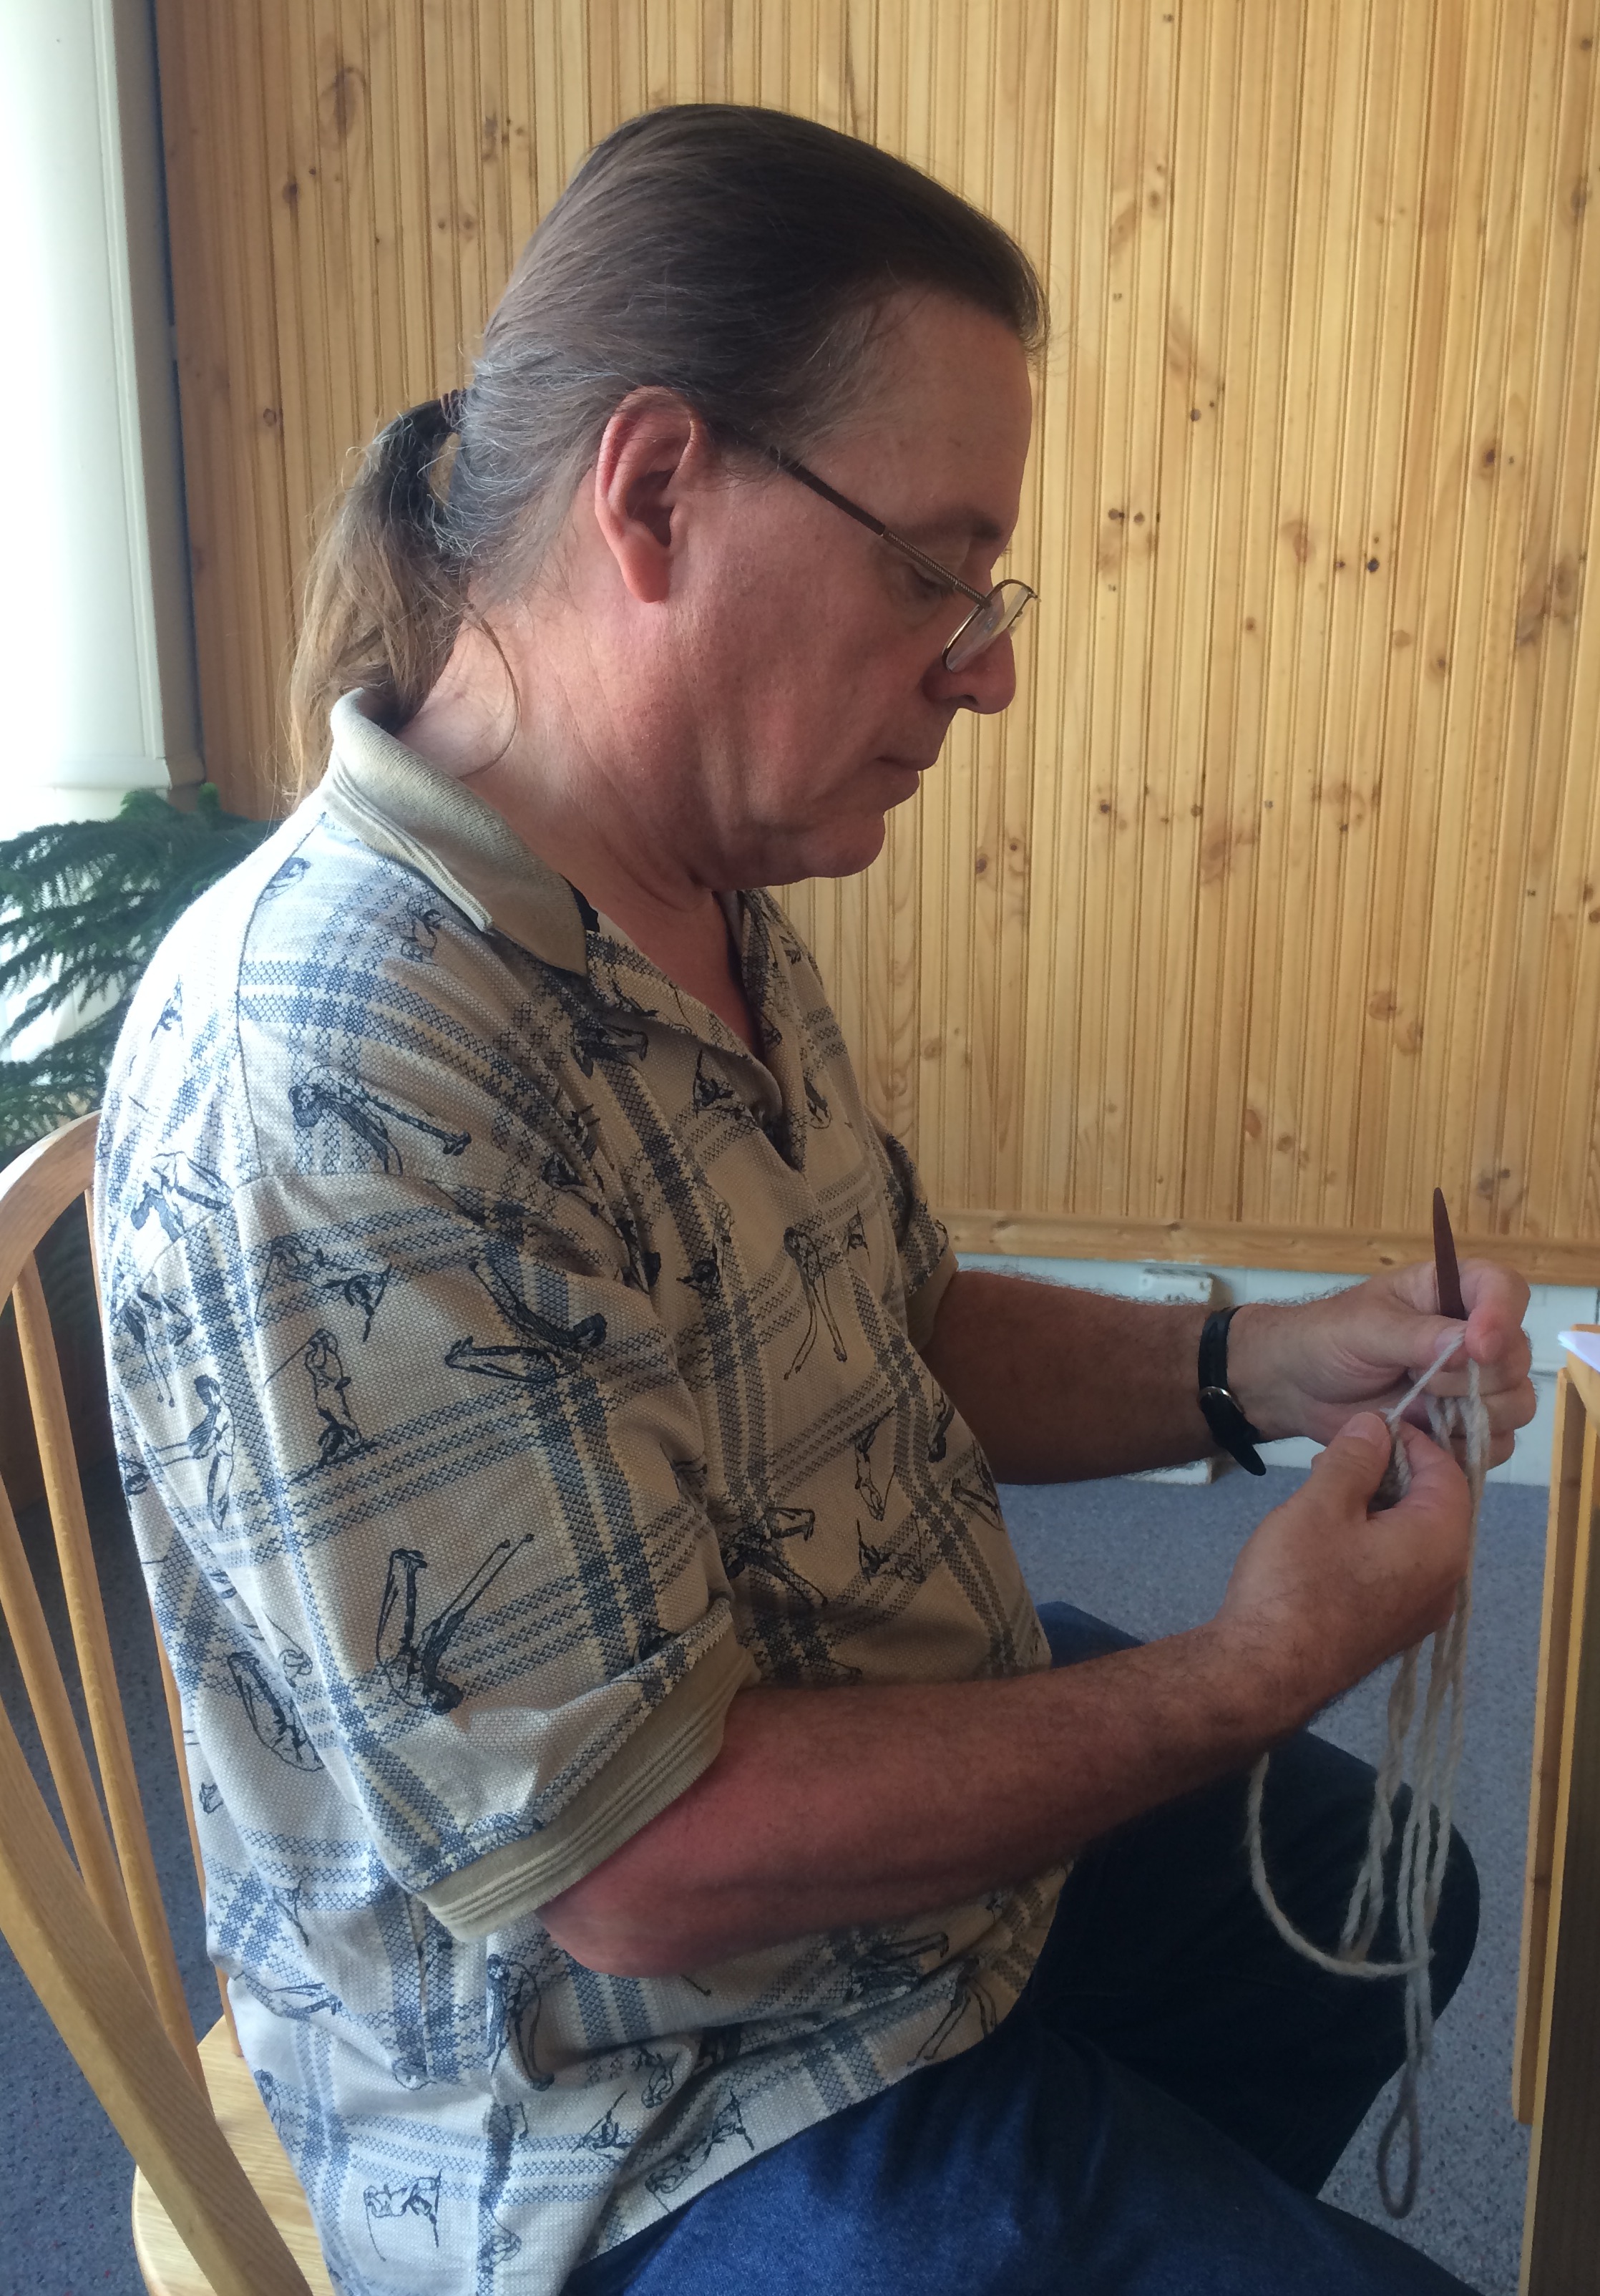
“I’ve heard that if you had someone that you really cared about very much, and you wanted to make them a pair of mittens as a love token, if you really cared about them you would nålbind.” The mittens would last longer and you would show, by taking more time to make them, the depth of your feelings. “If you were like, ‘Eh, I can take him or leave him,’ you’d knit.”
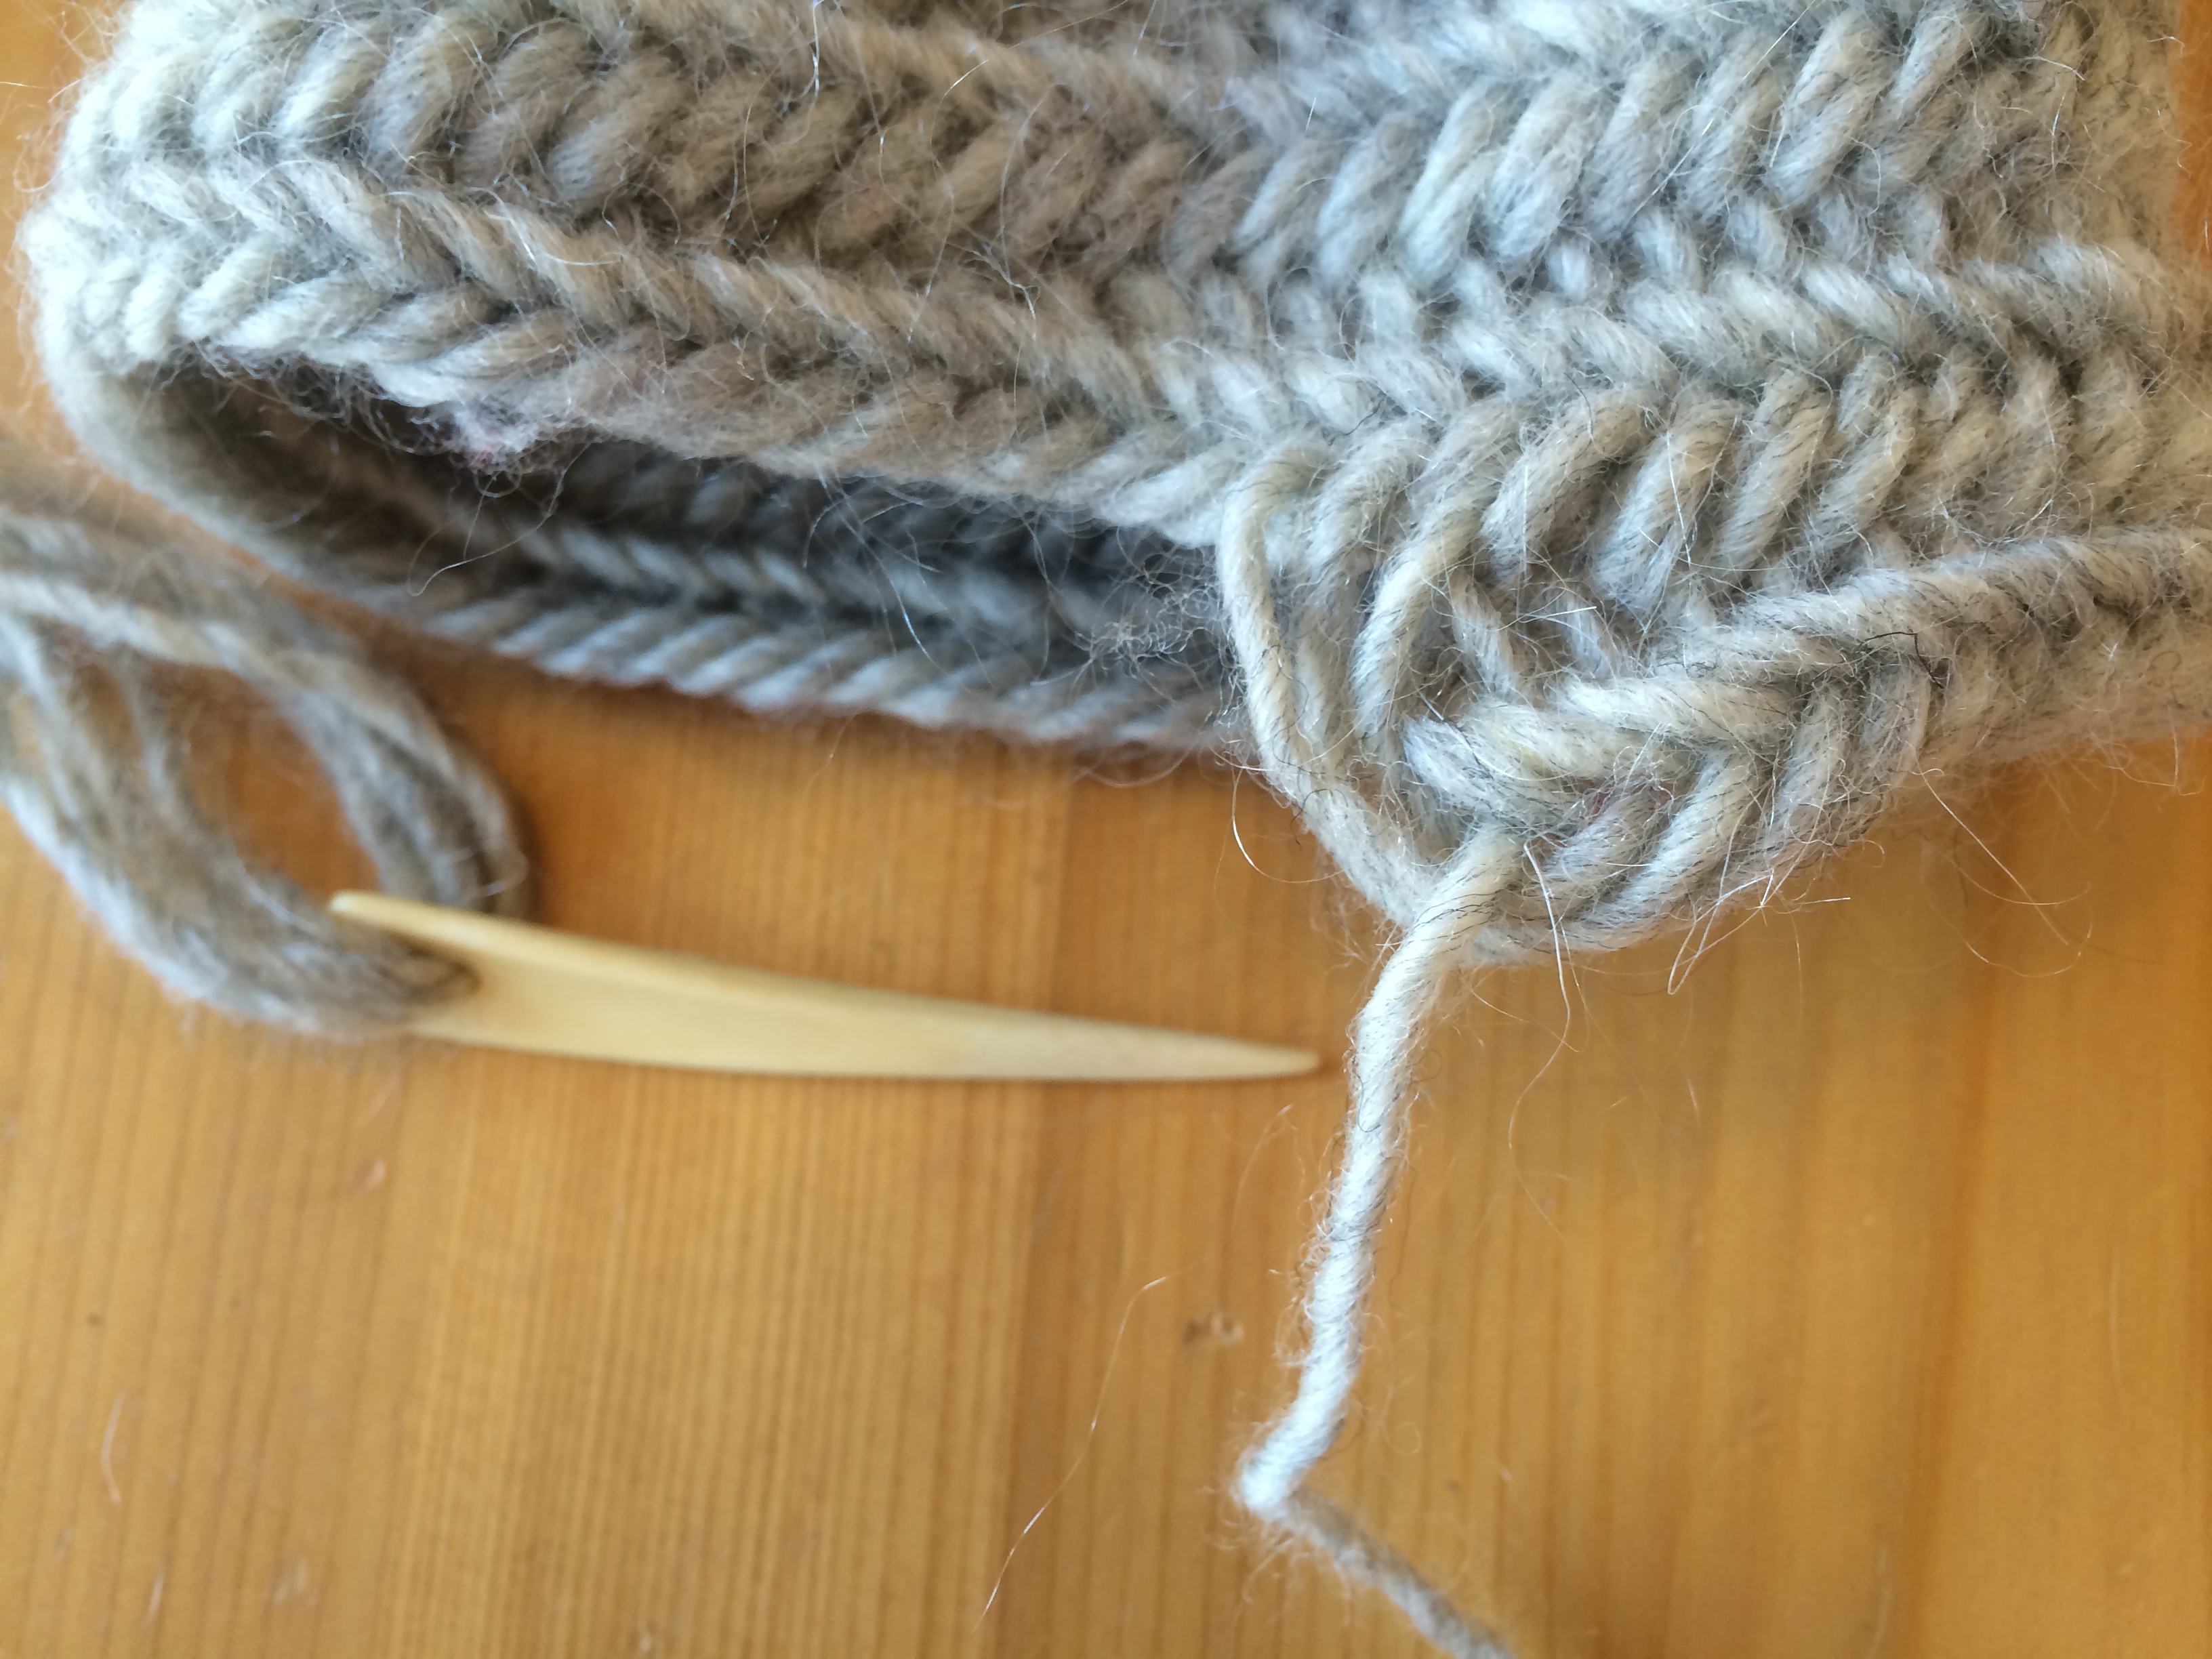
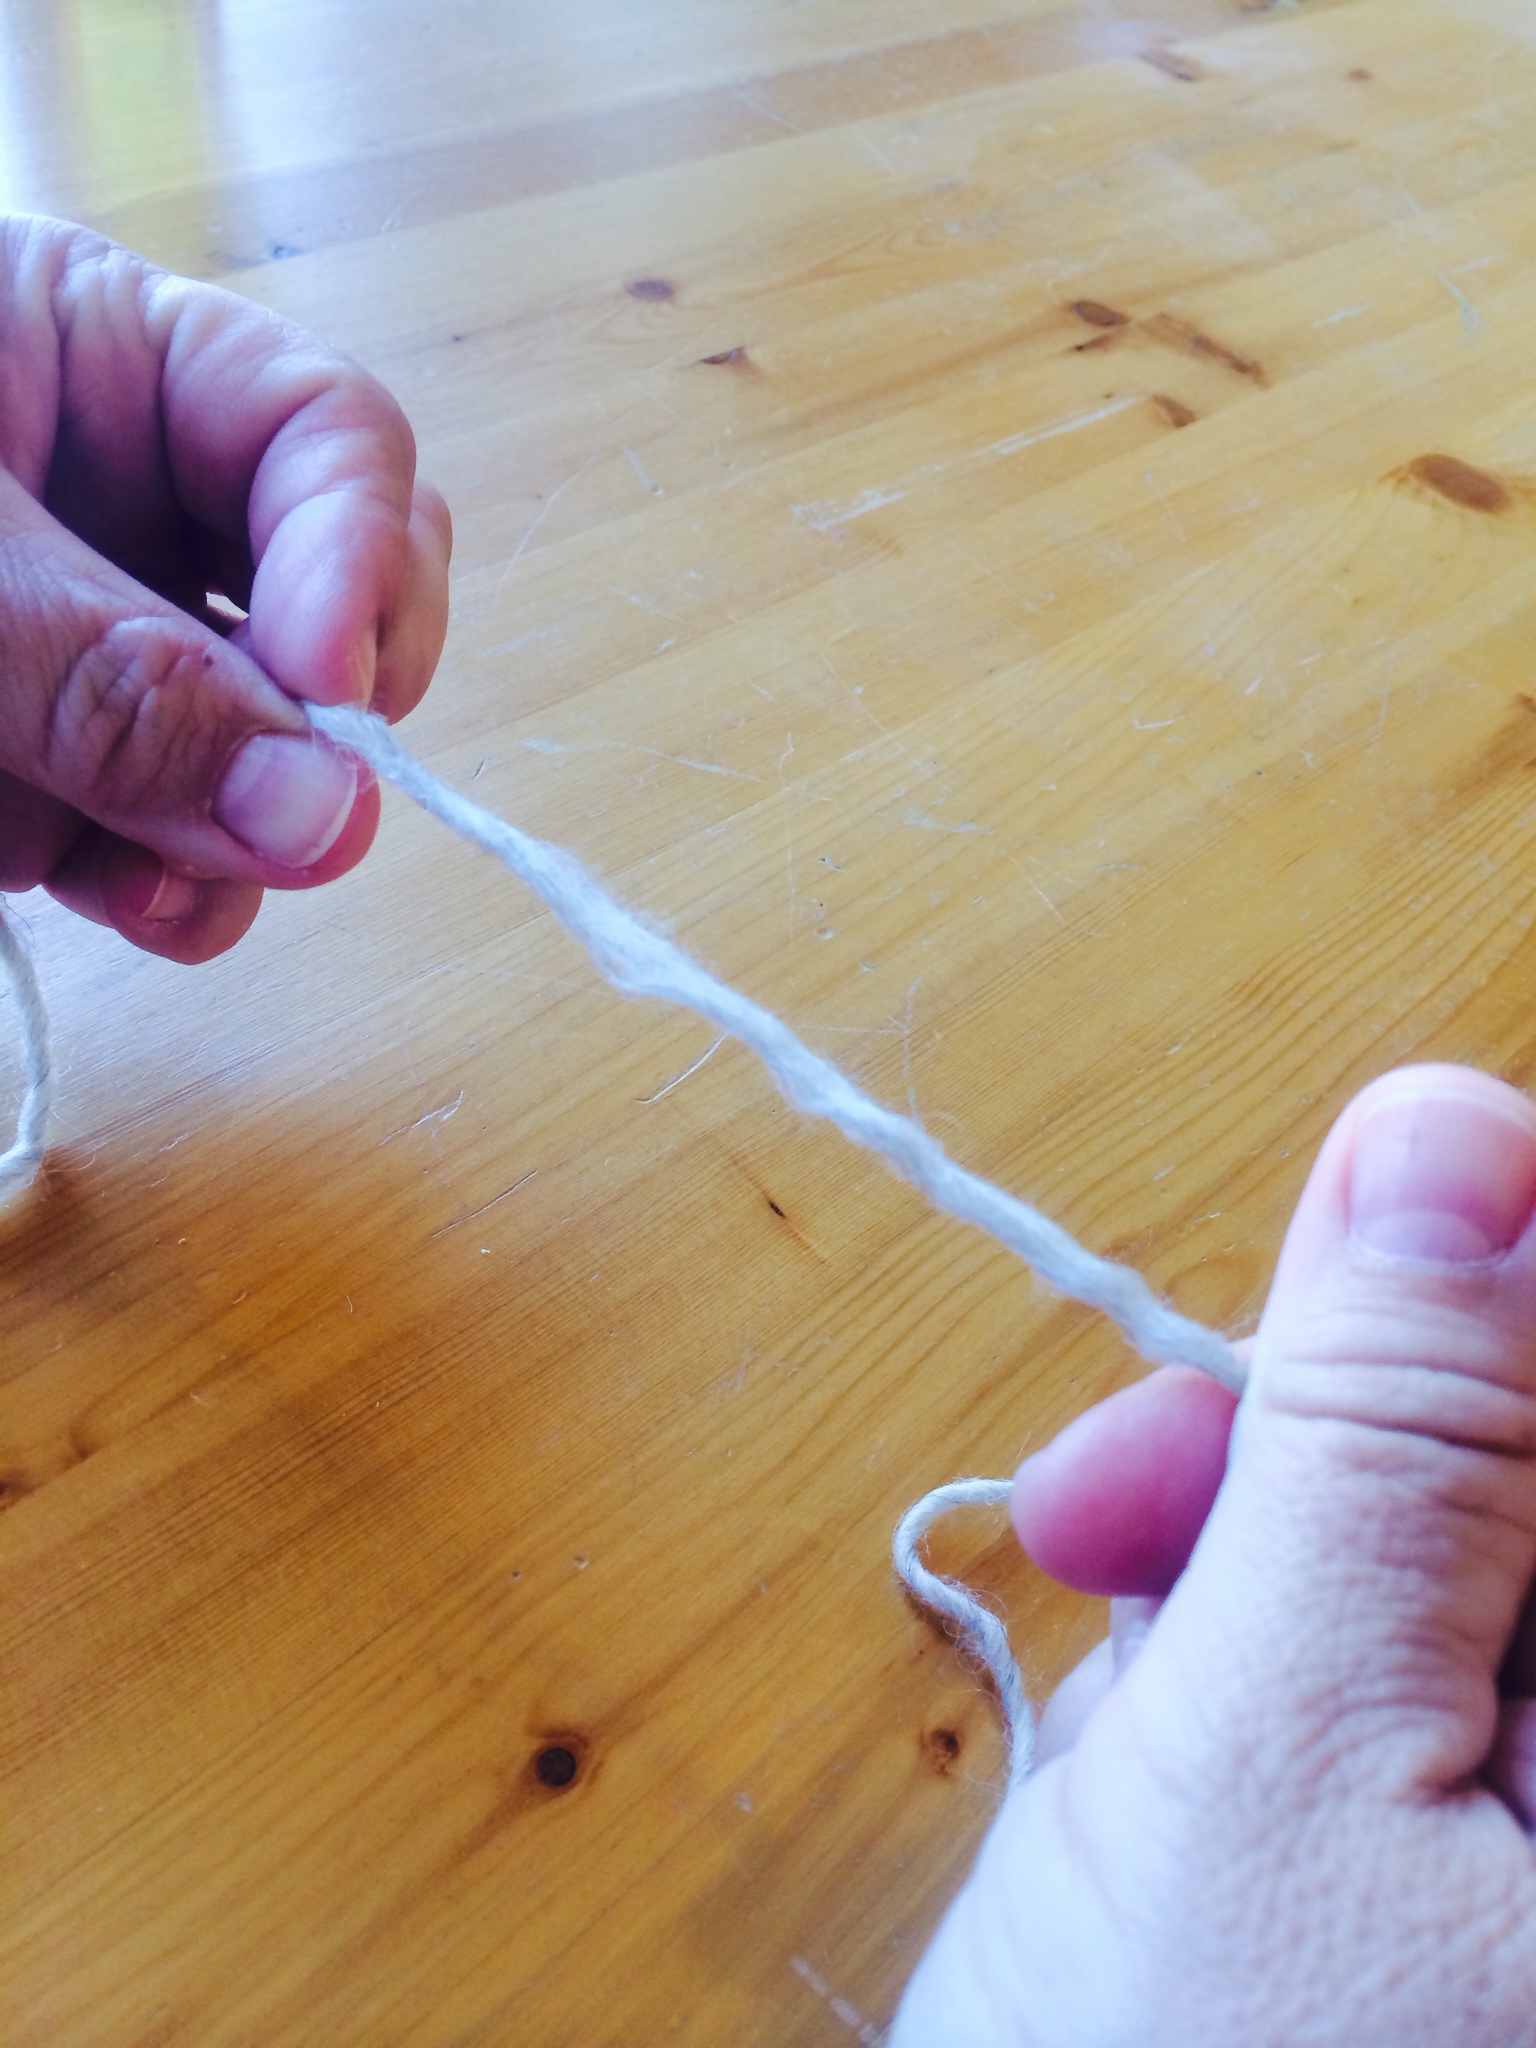
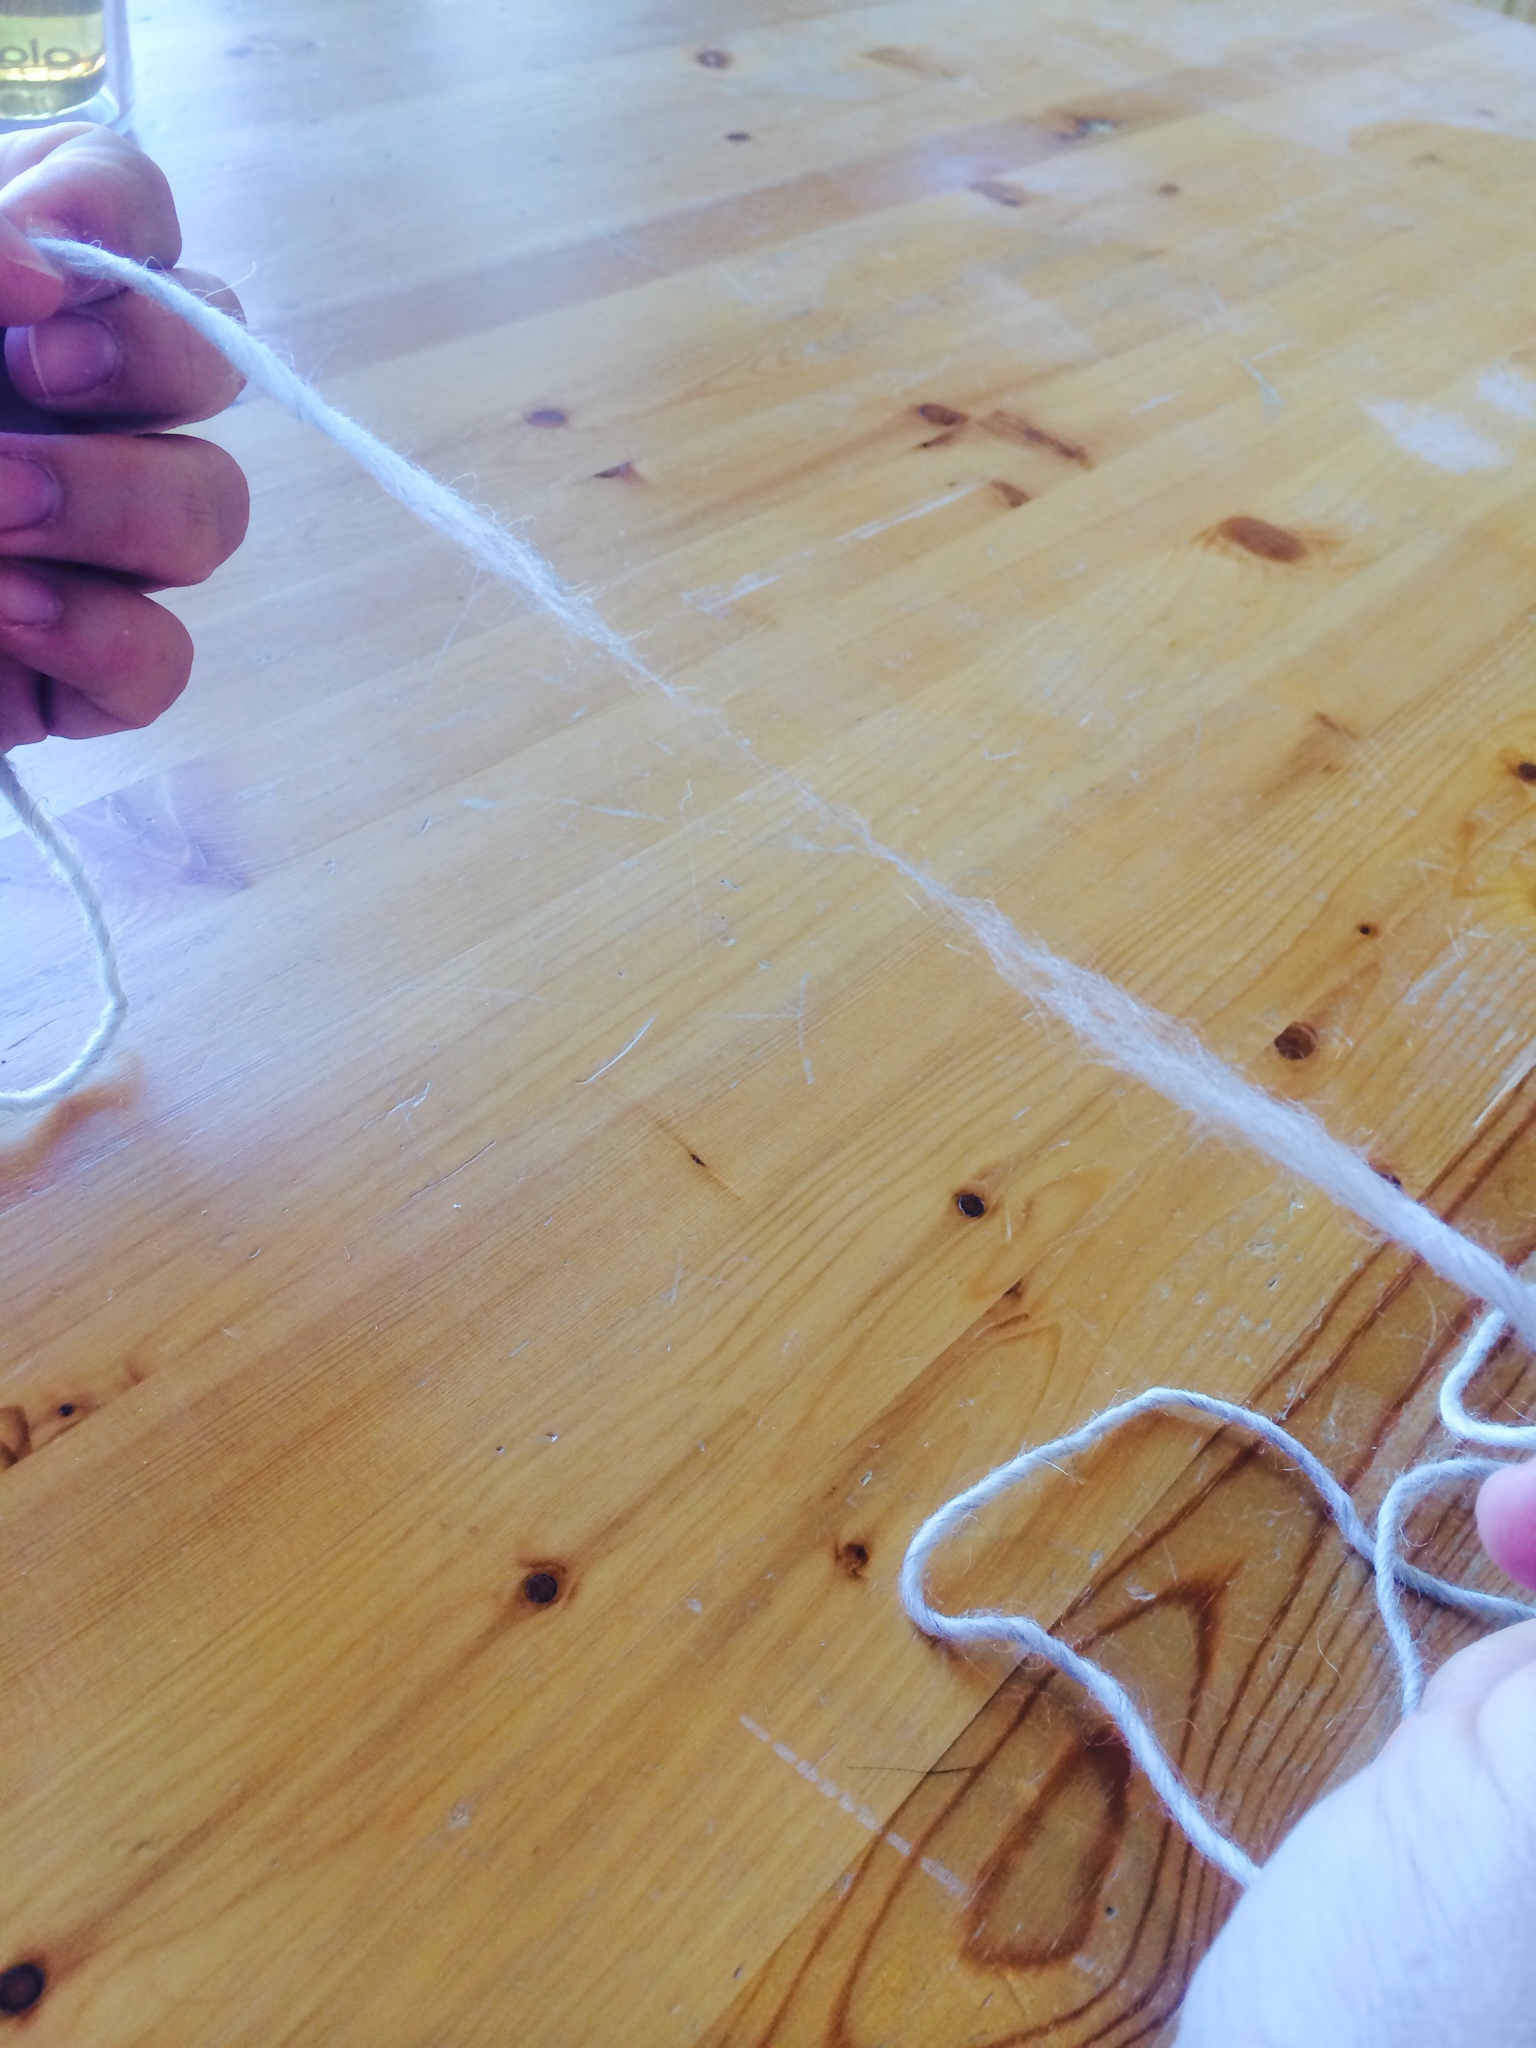
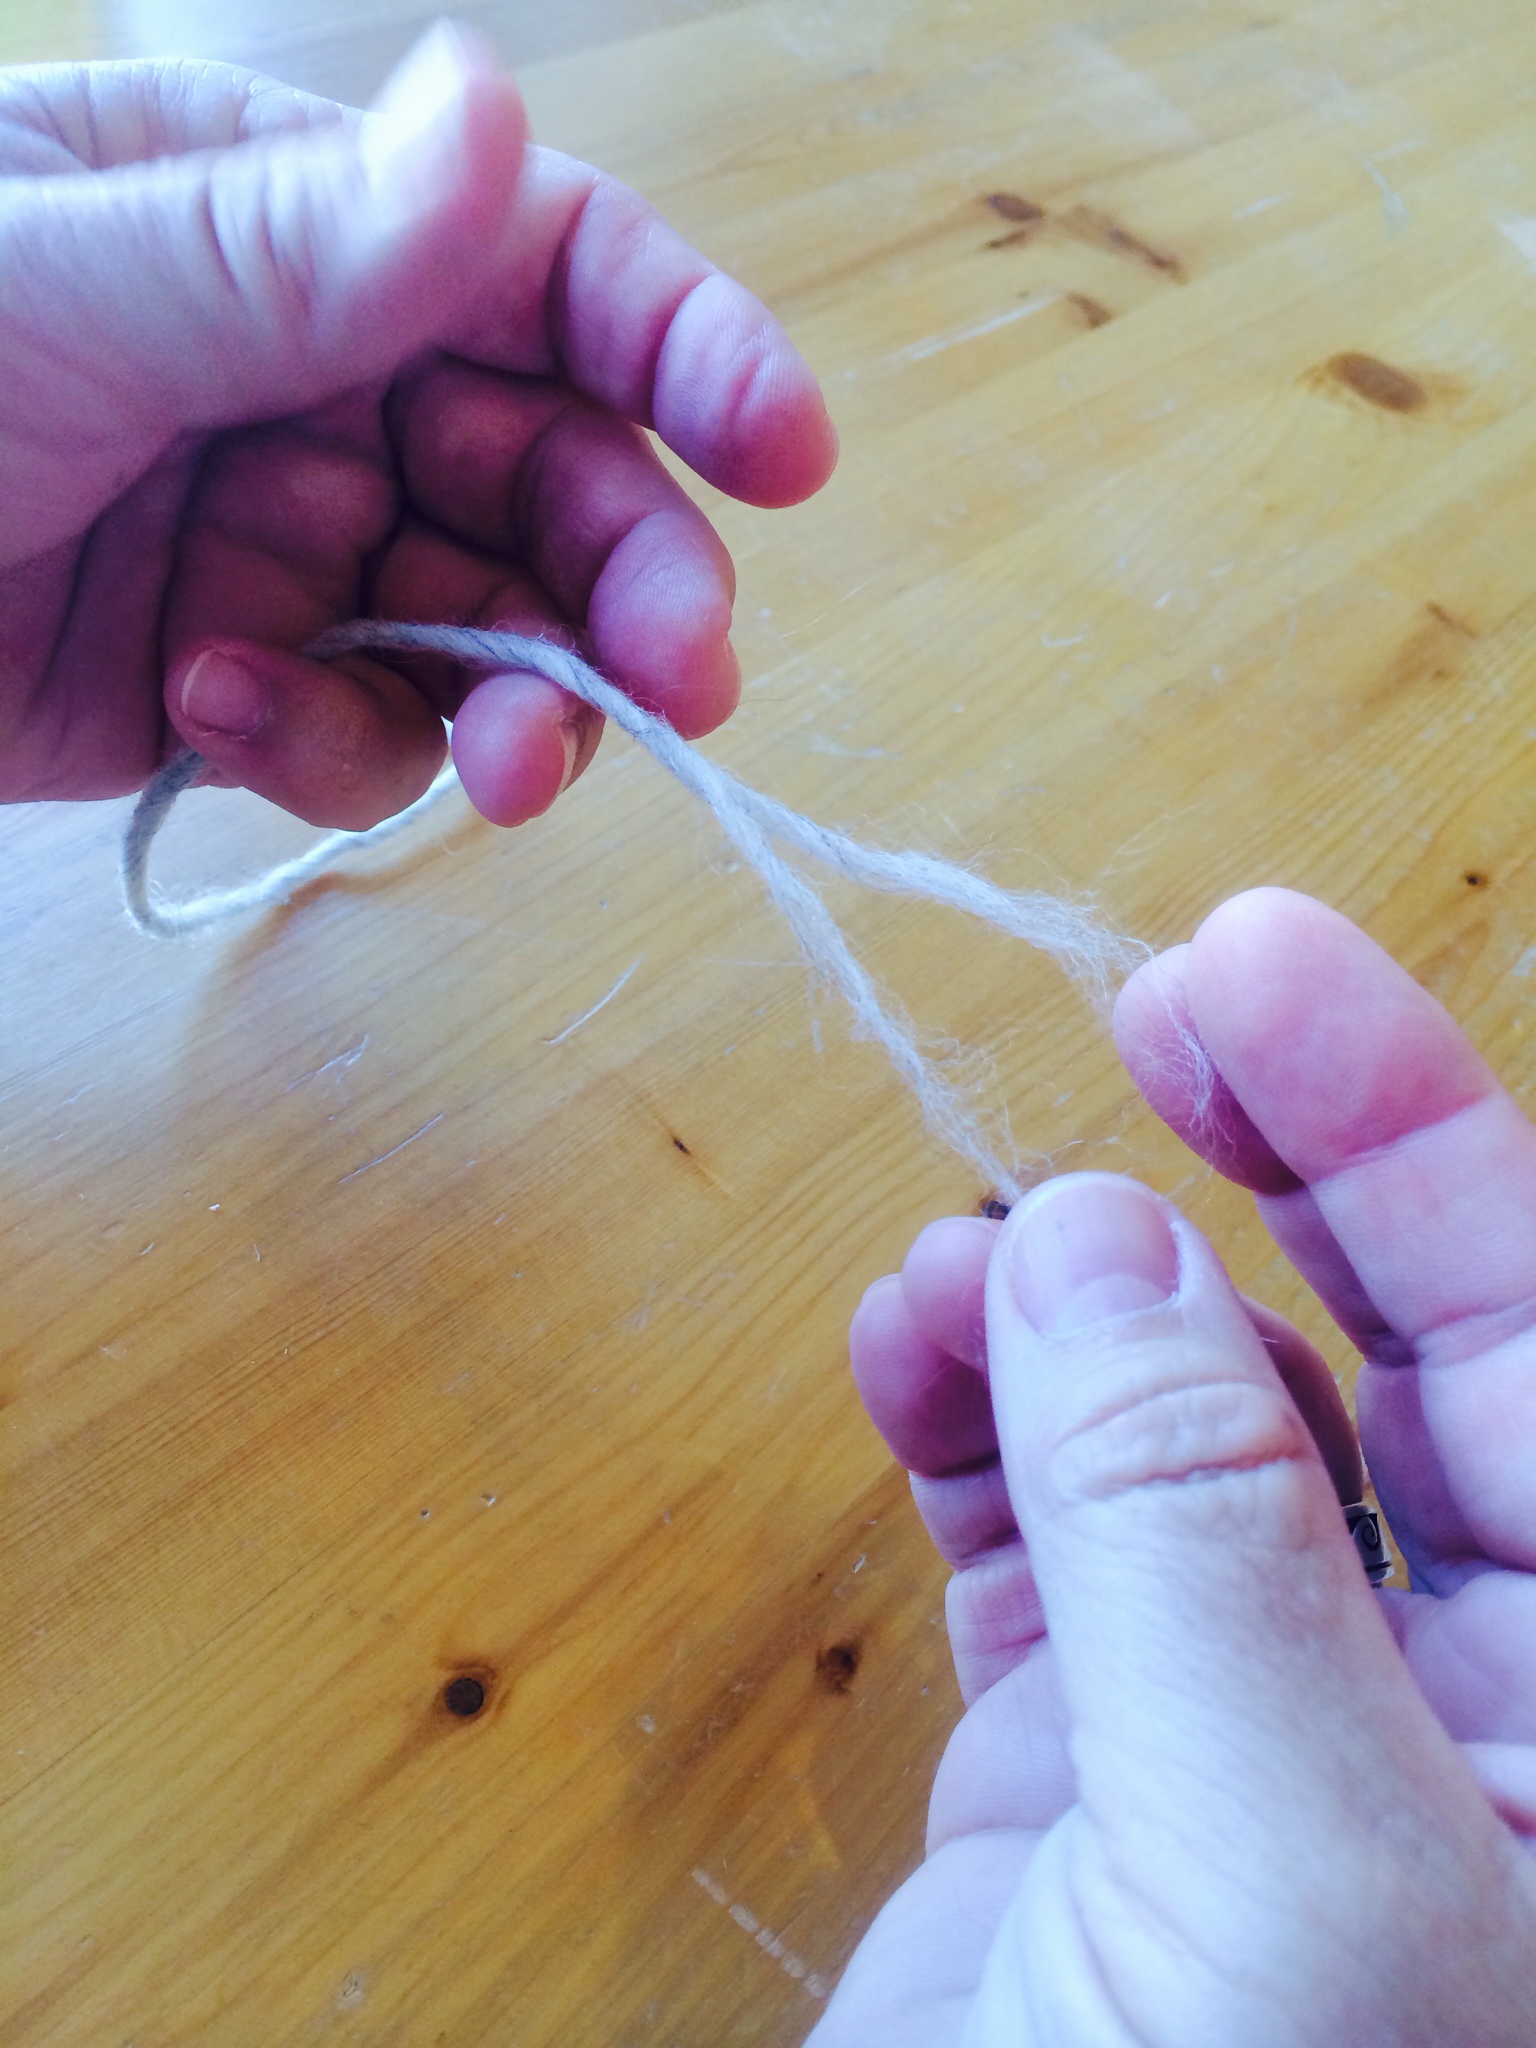
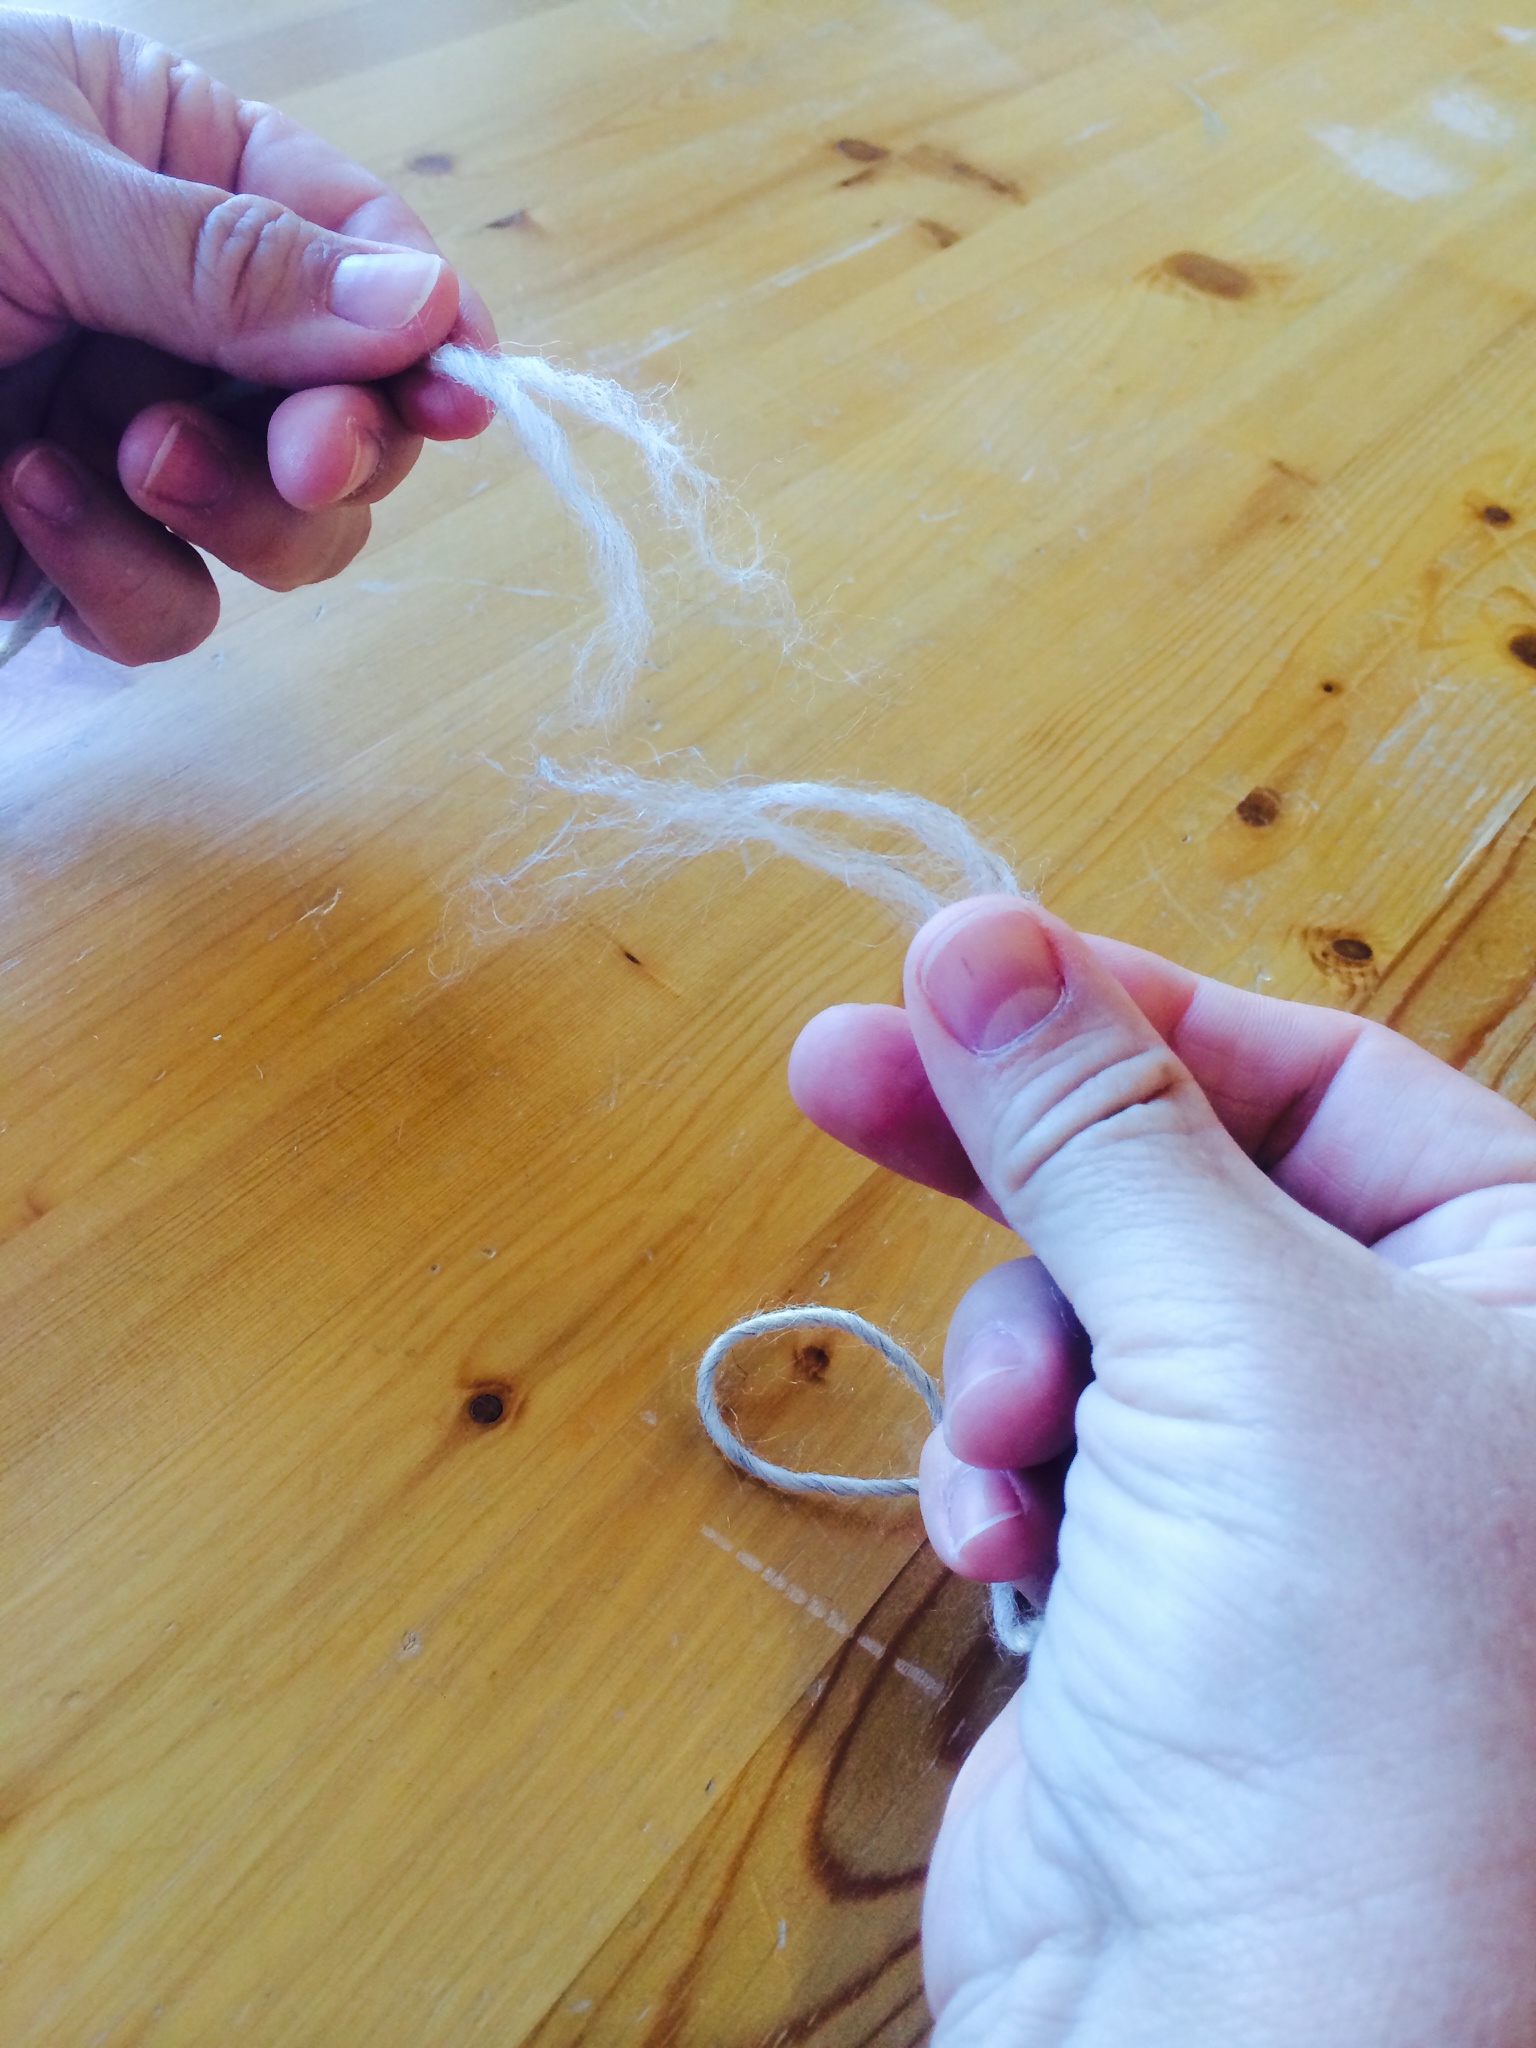
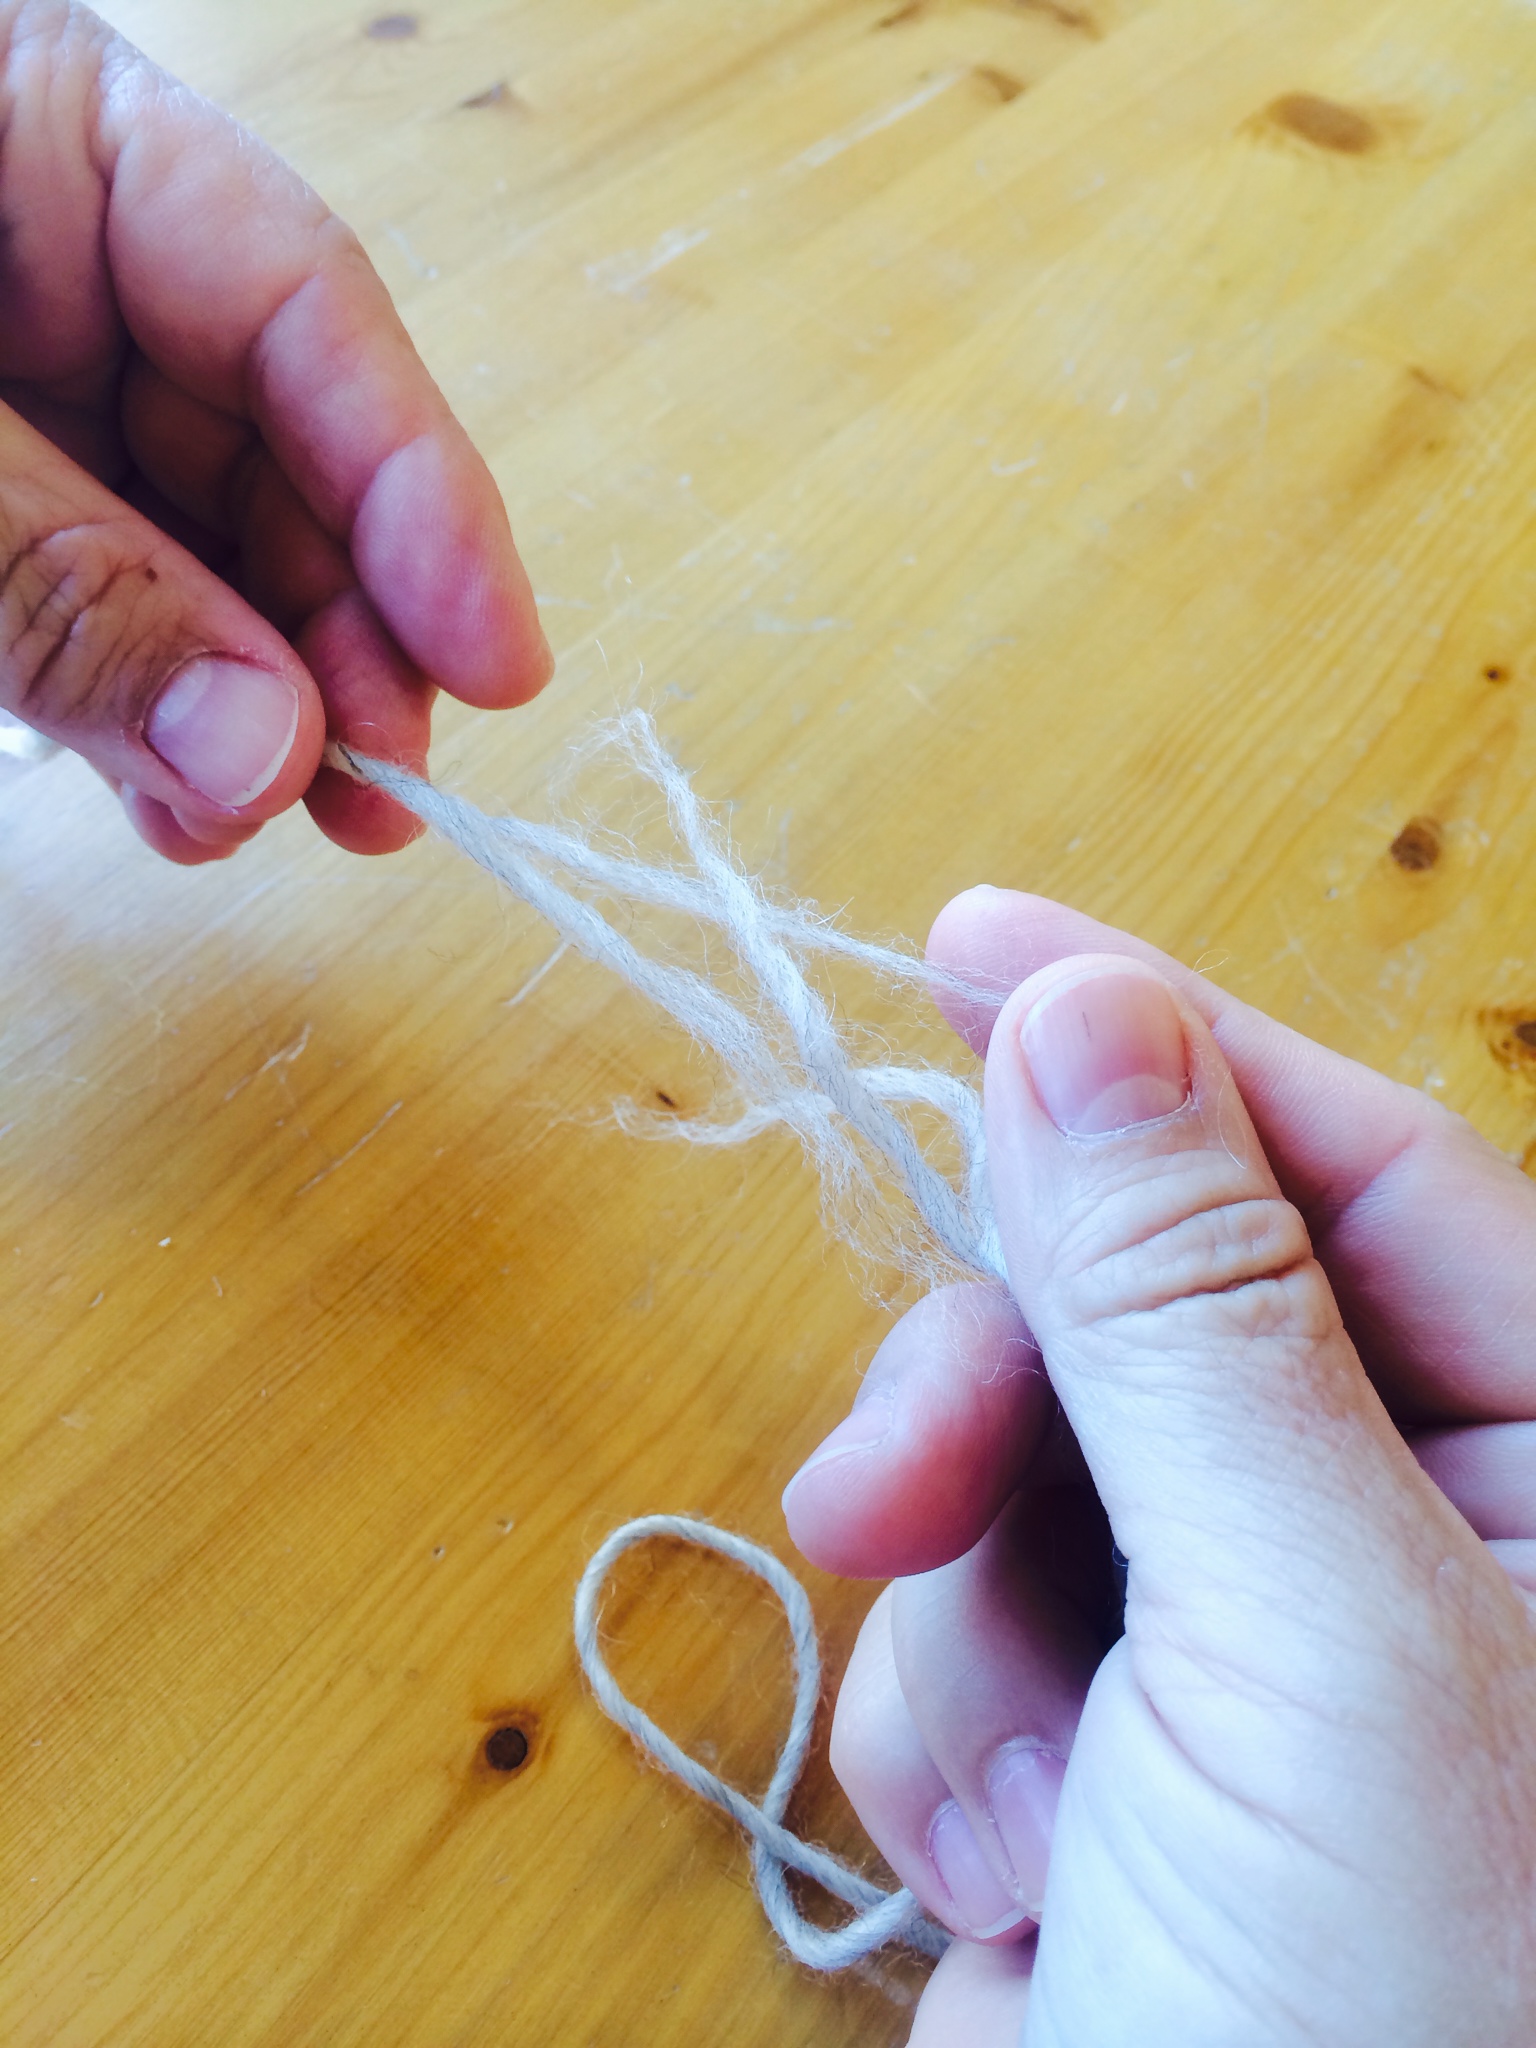
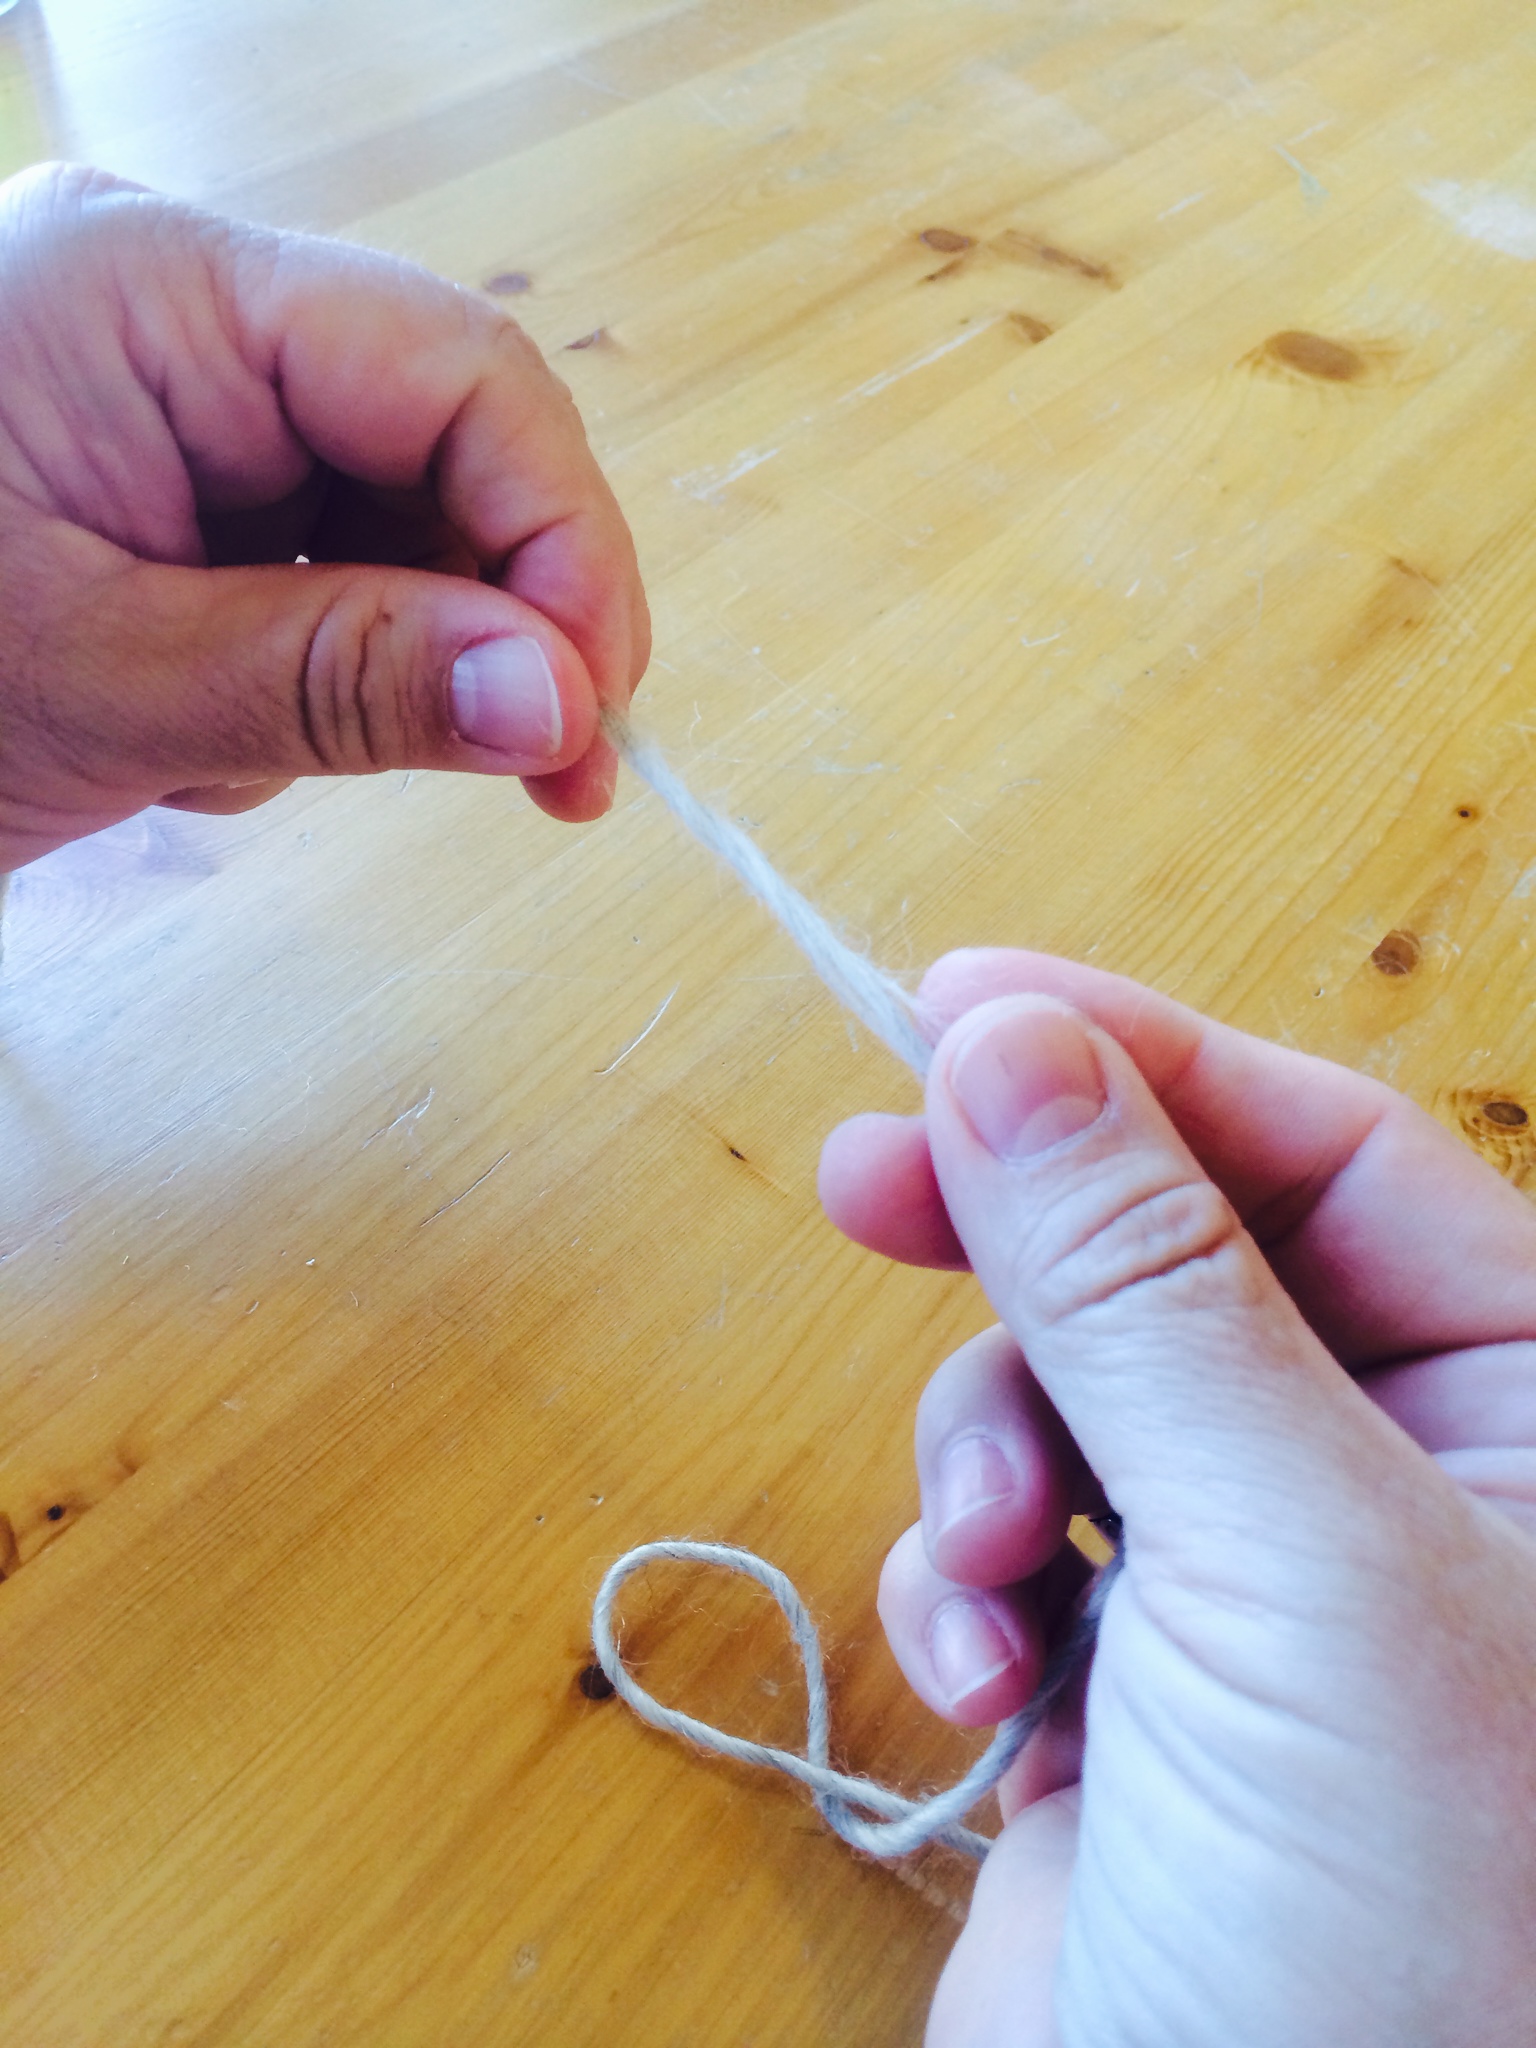
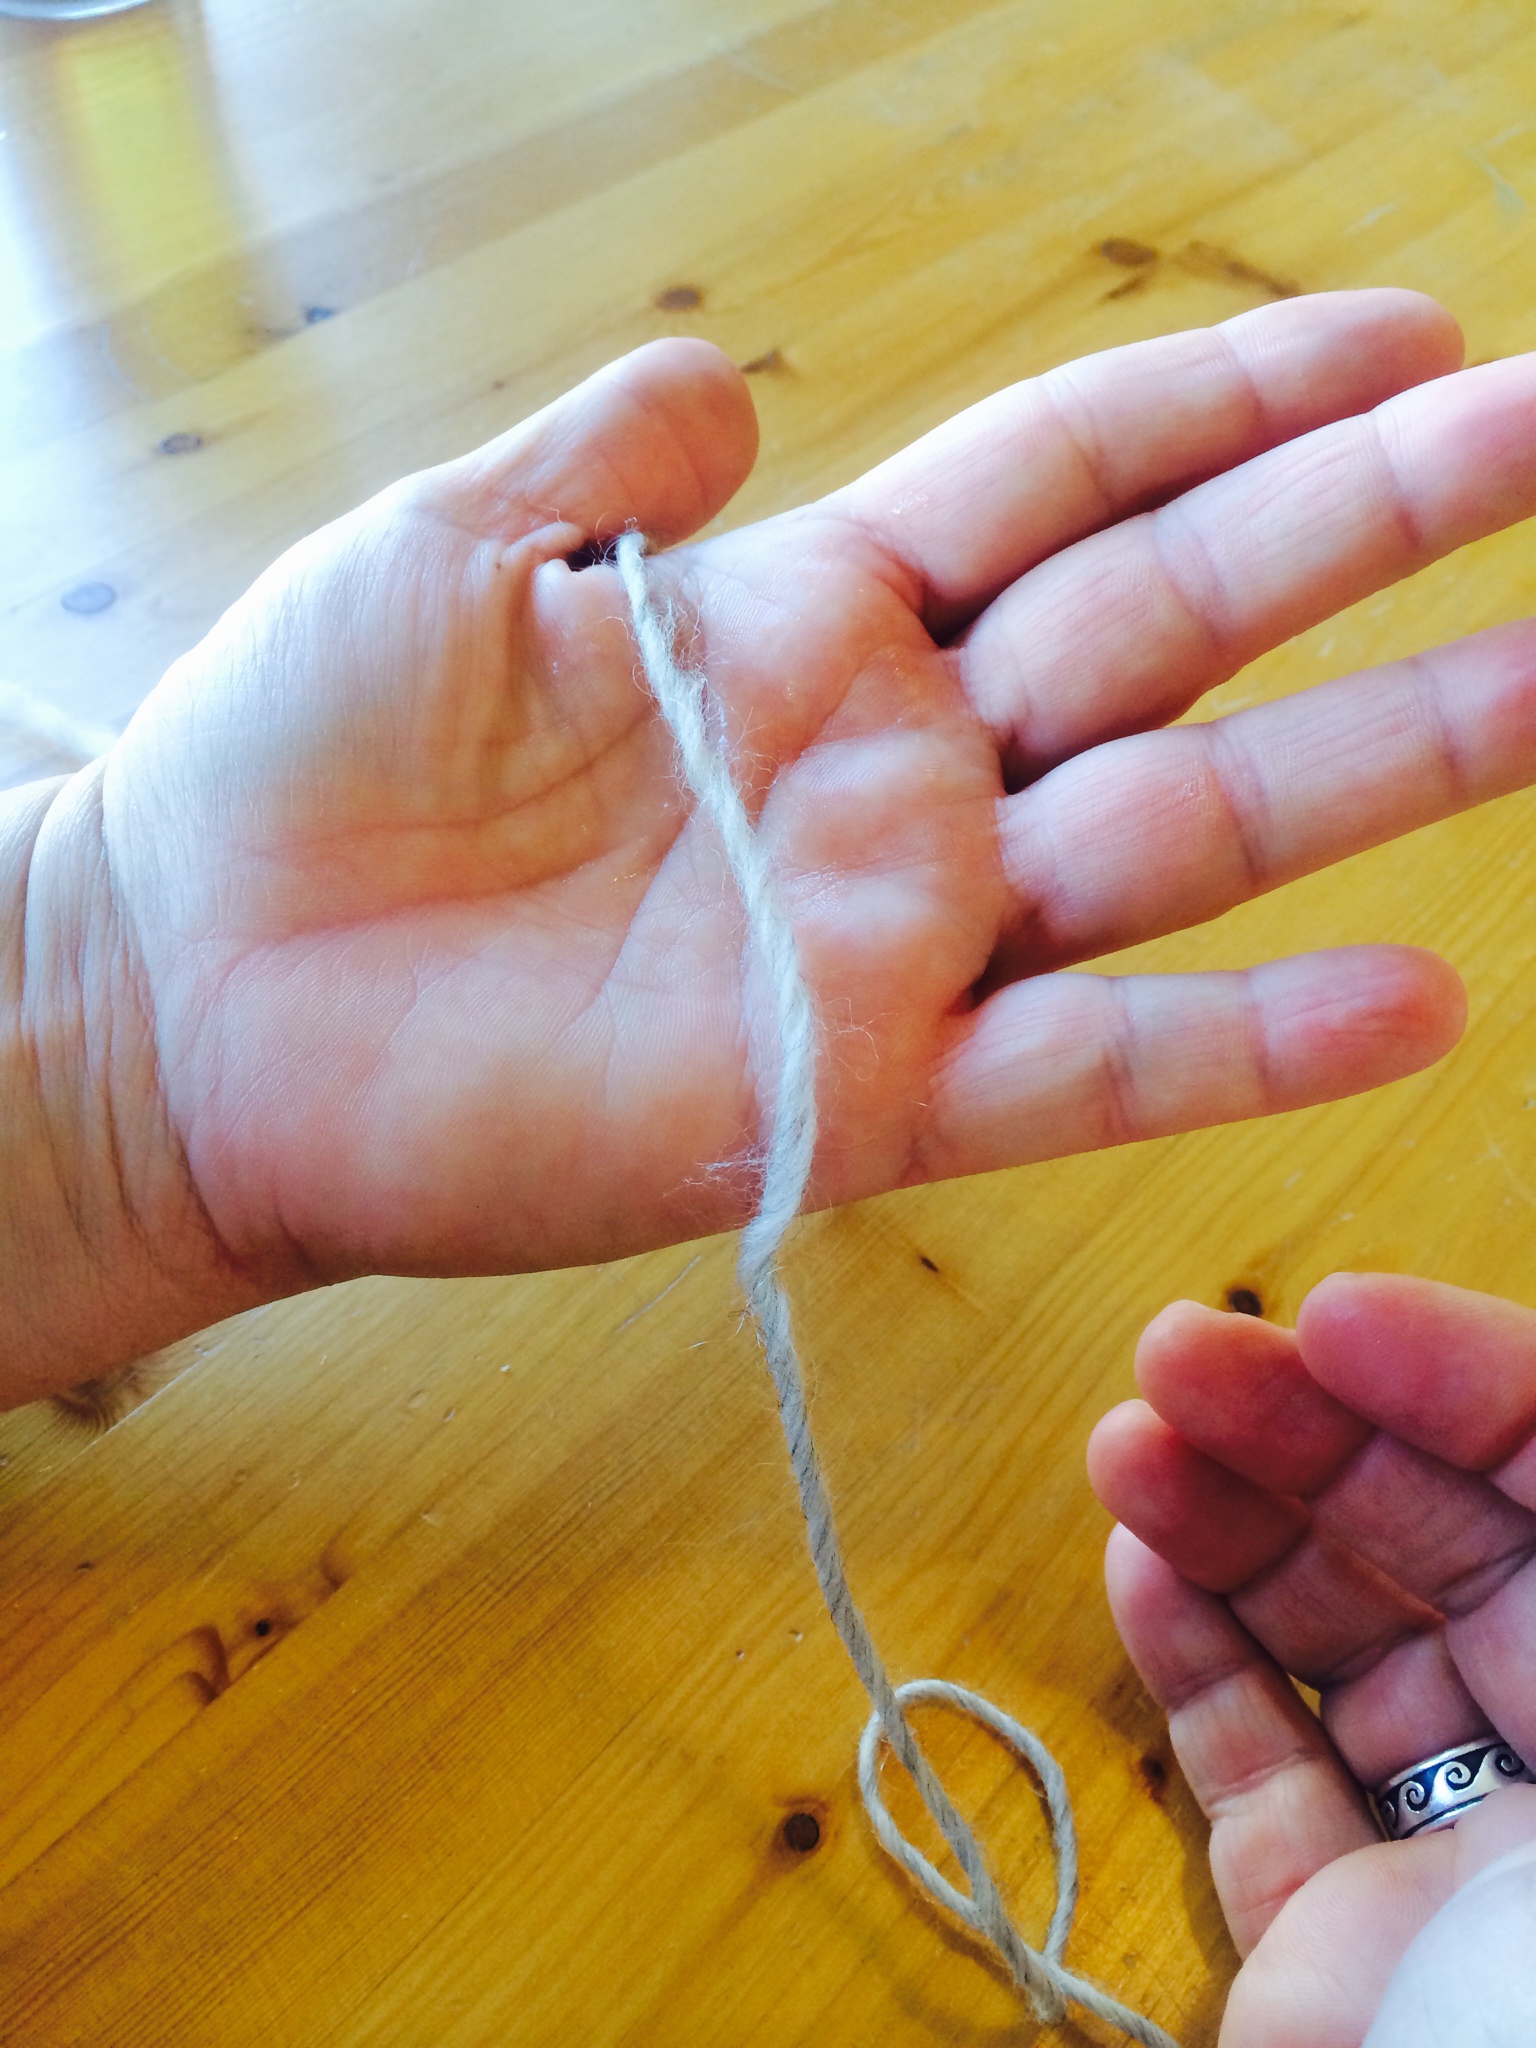
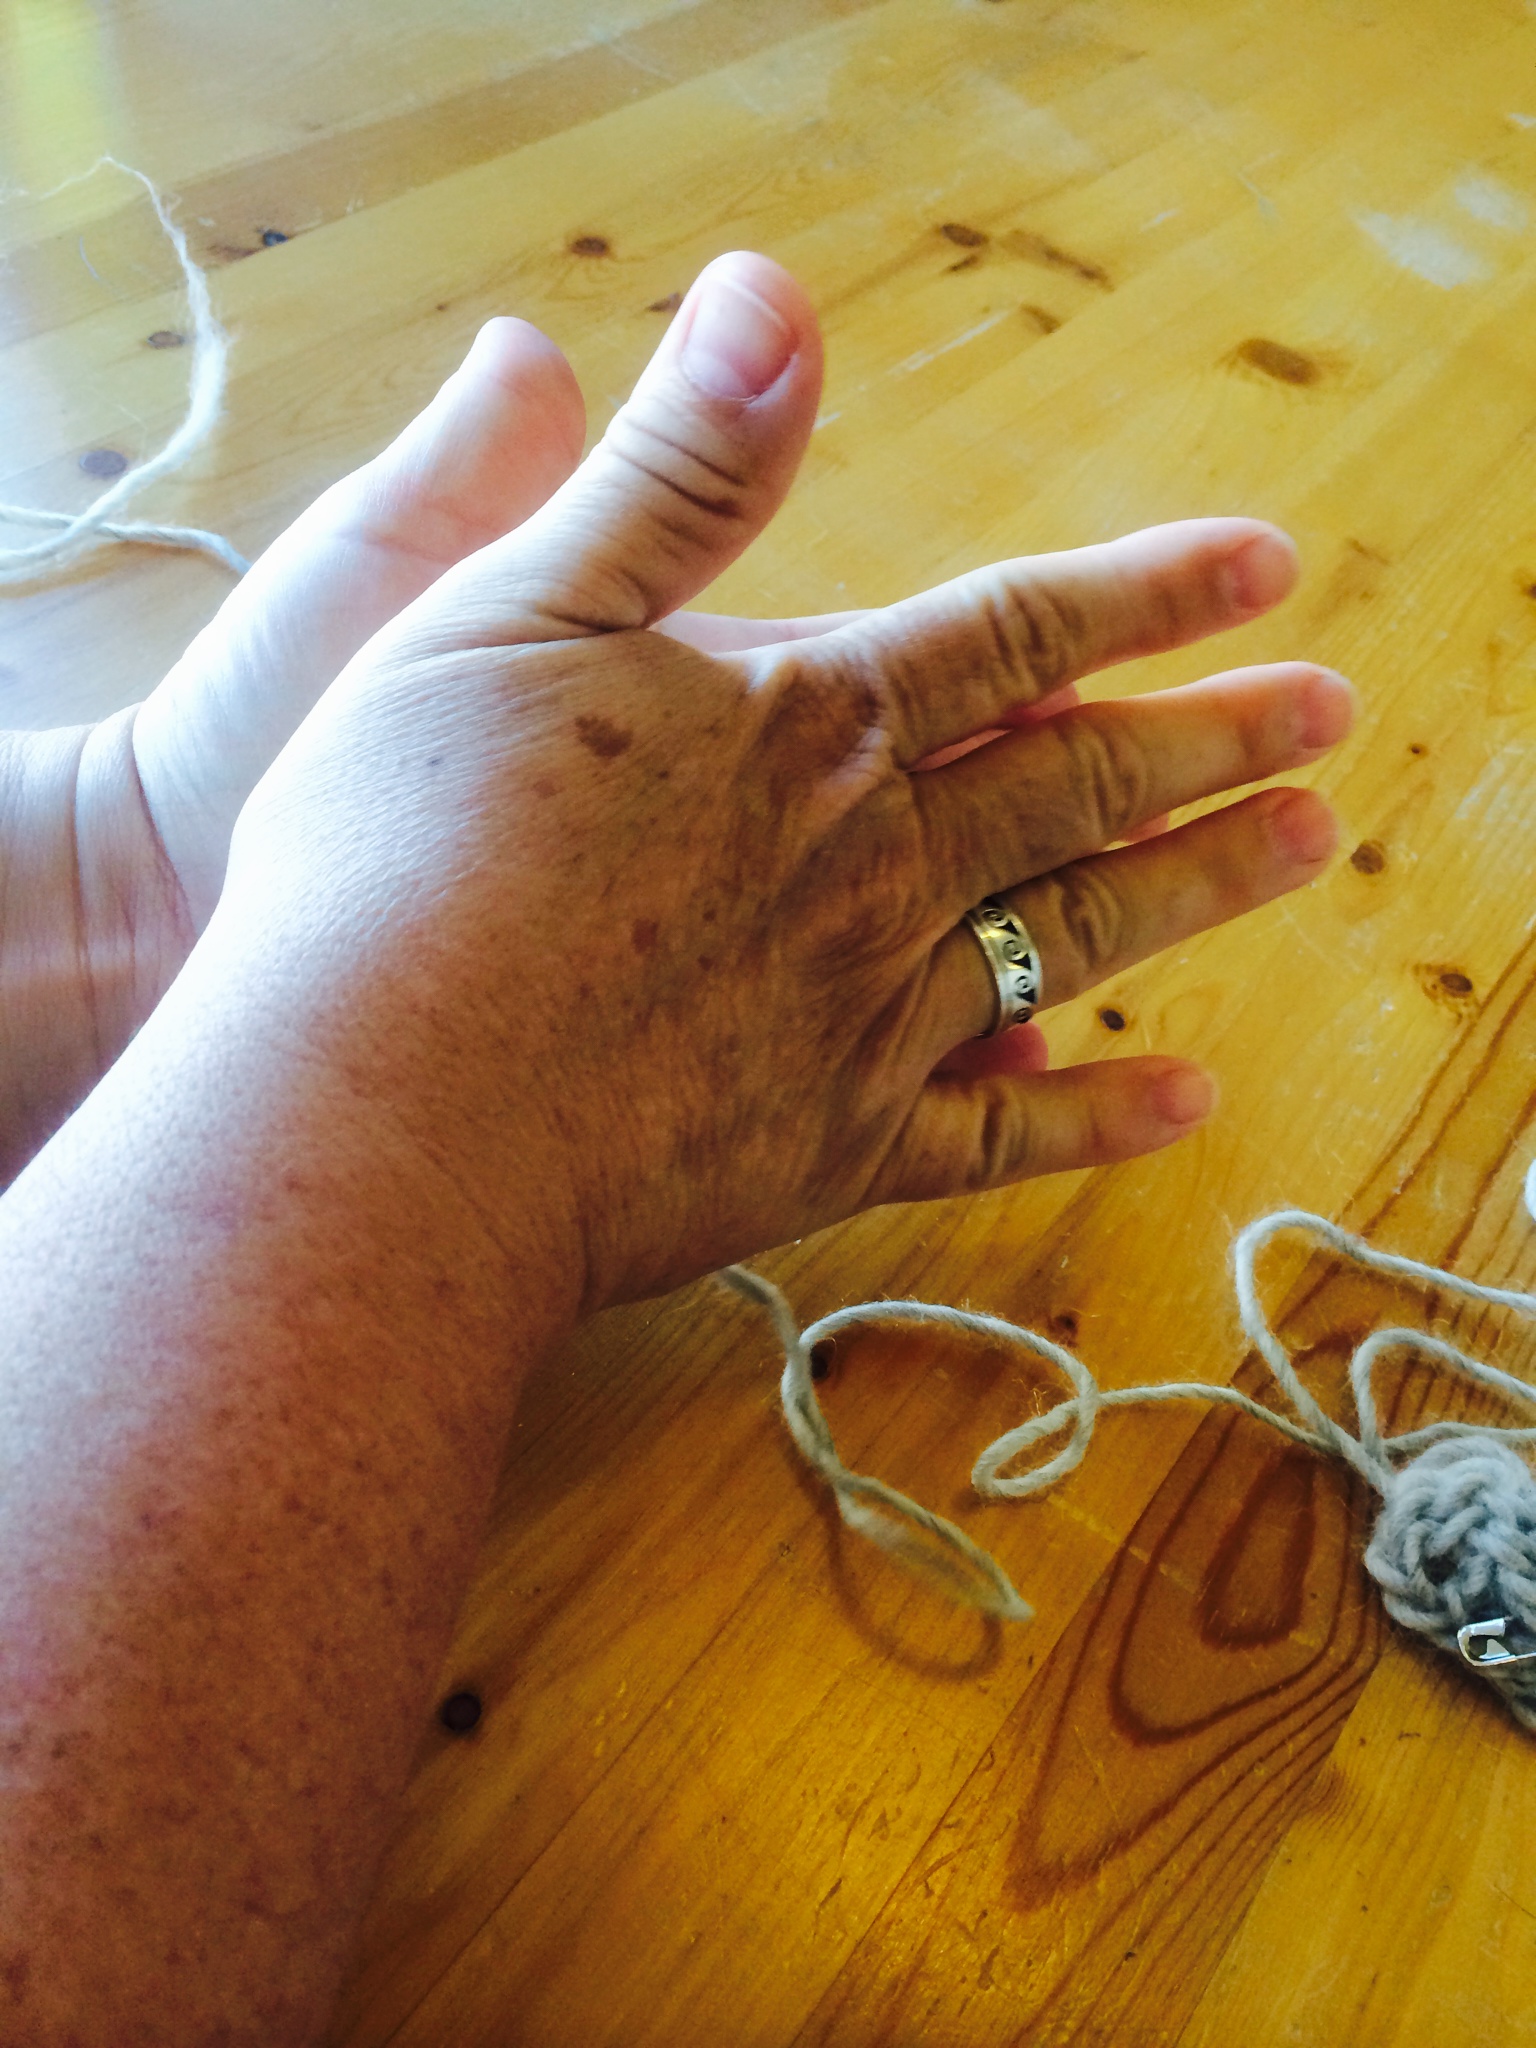
Working with short lengths of yarn means making a lot of joins, which is one reason Fossett recommends nålbinding with a single-ply wool yarn, like Álafosslopi or Léttlopi. Her joining method is something you can use in knitting, too, if you’re working with wool and want to avoid weaving in loose ends after you finish a project. Here’s what she does:
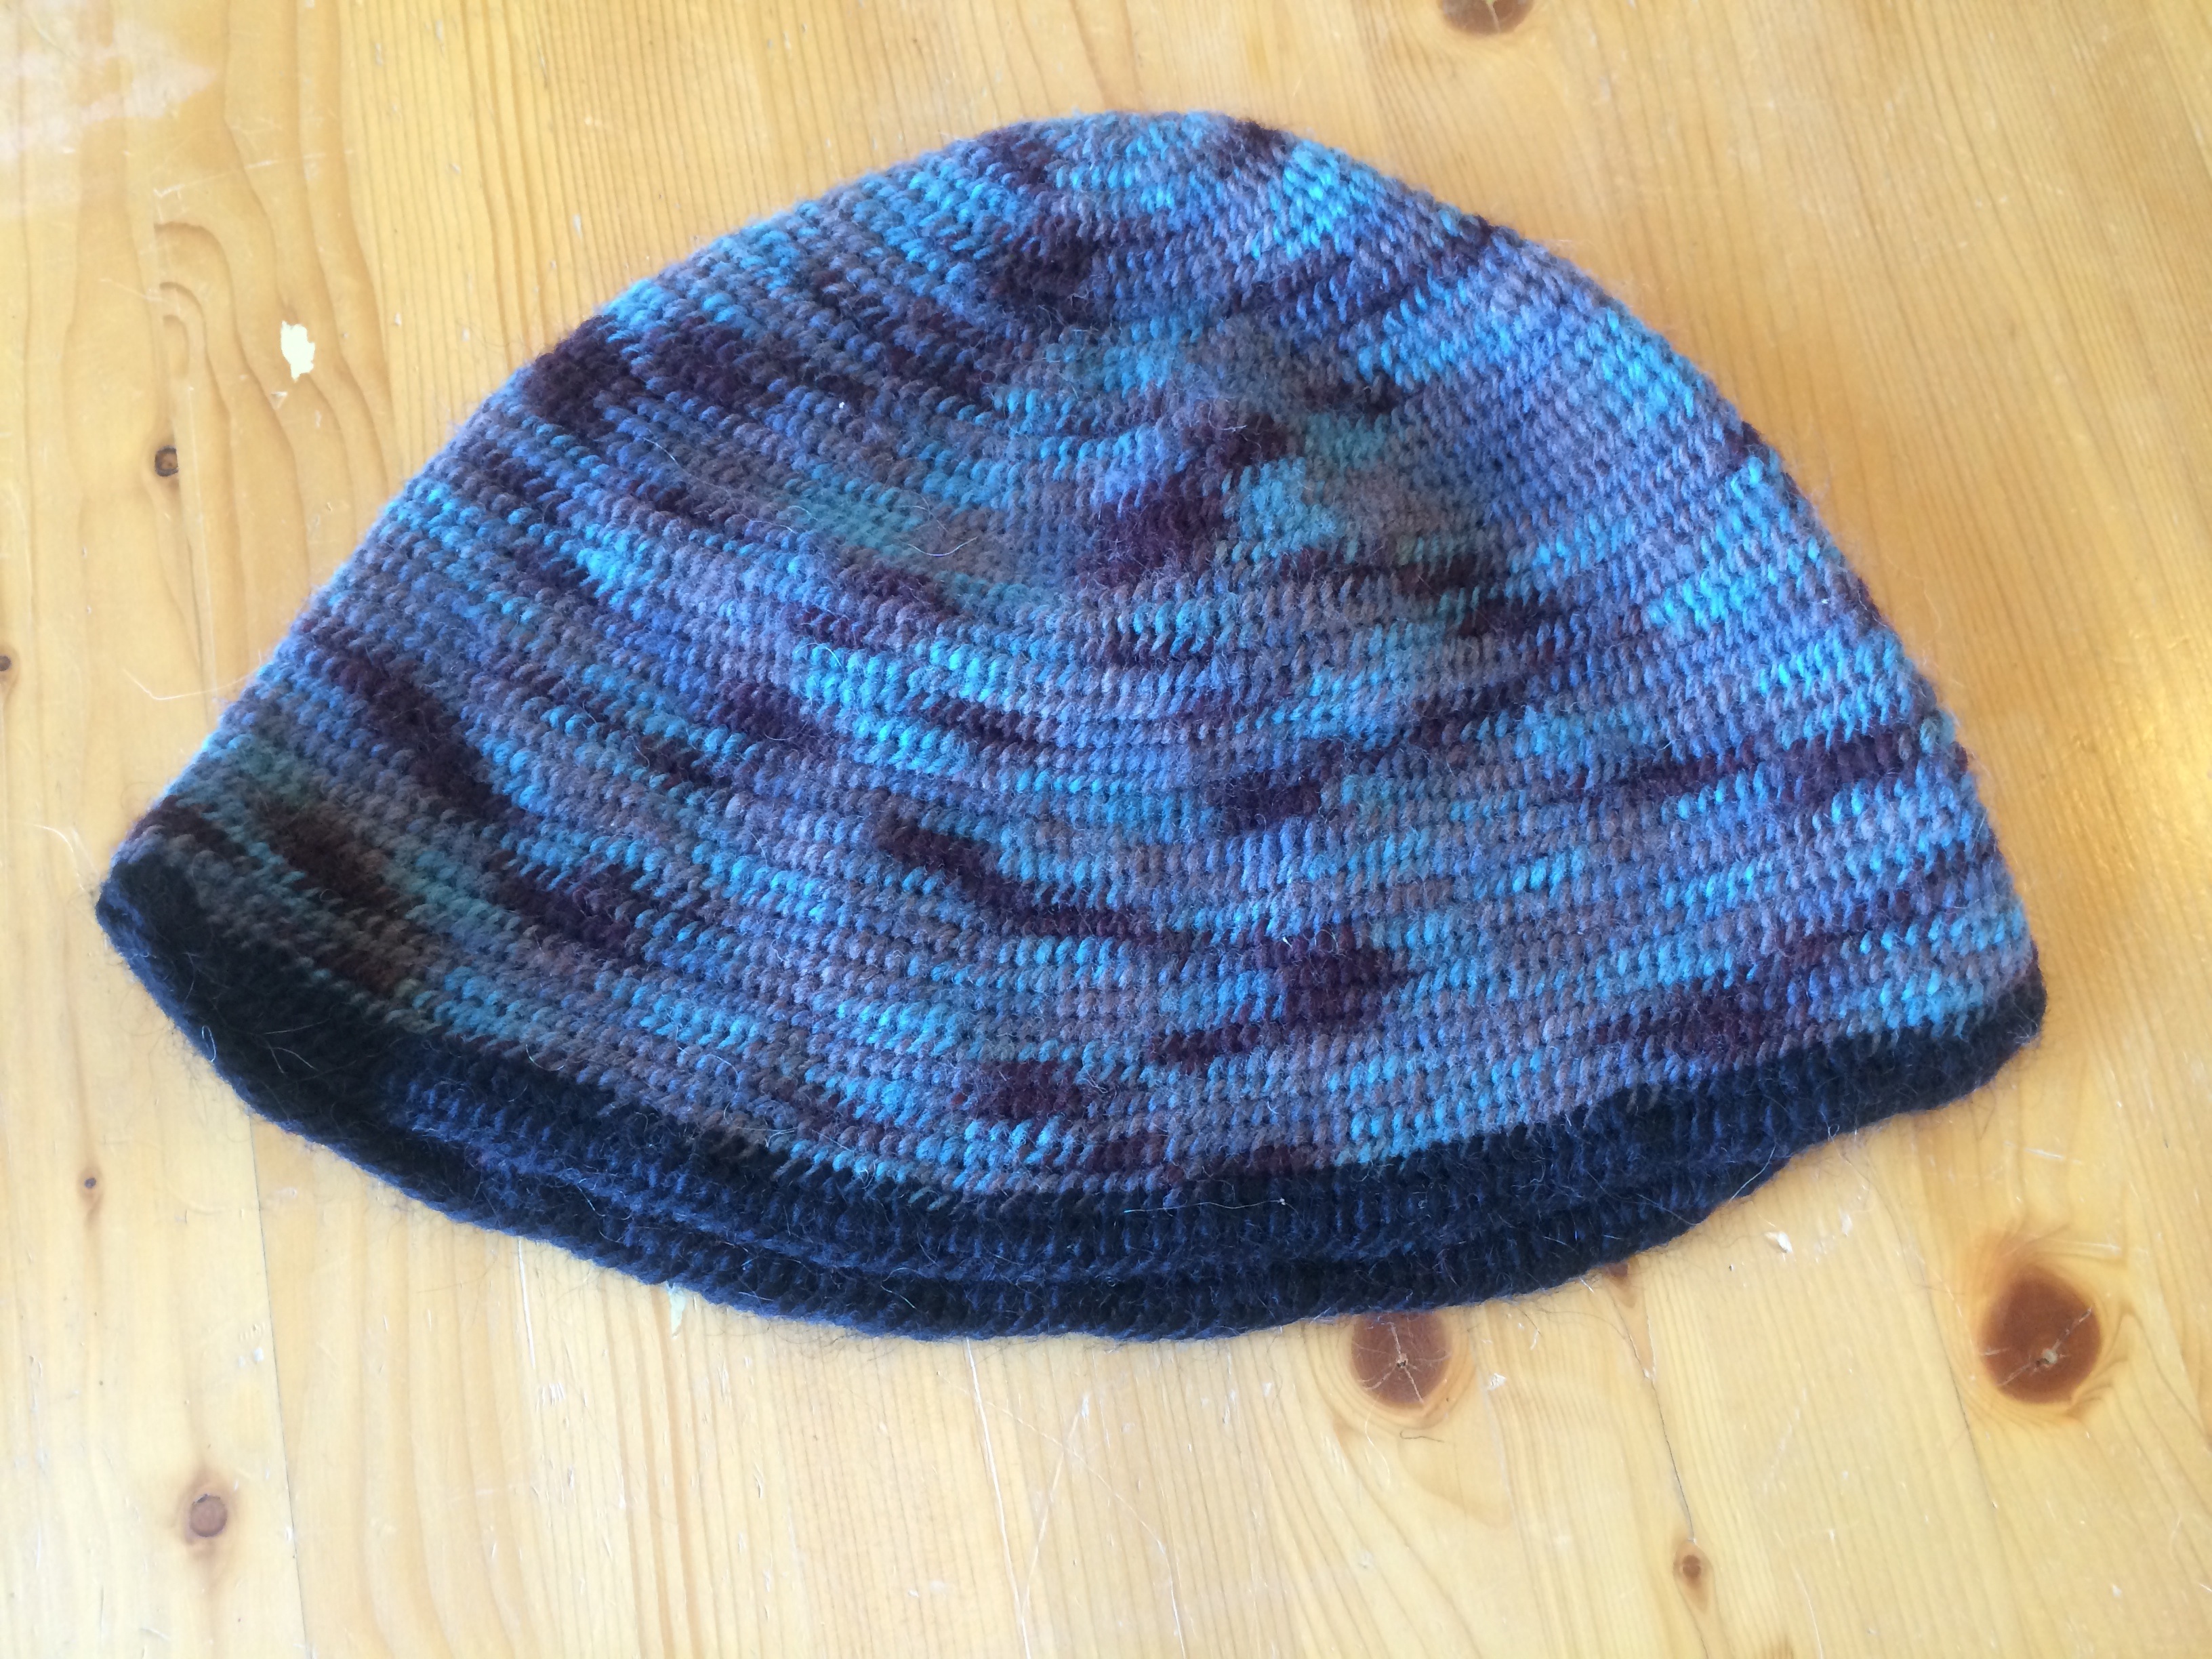
Nålbinding is even older than the Viking period. It dates to thousands of years BC and is still used from Peru to Scandinavia. But for all its long history, it’s also a craft suited to this moment in time—small, portable, and easily updatable. Angela Robins, another of Ingebretsen’s nålbinding instructors, loves making neon-bright hats and says she’s drawn to nålbinding’s simplicity.
“I always kind of thought of knitting as one of the simplest crafts because you only need essentially two sticks,” Robins says. “But I feel like nålbinding takes it a step further because you only need one!”
—Denise Logeland
Reblogged this on Adventures in Learning New Skills and commented:
One of these days I want to learn how to do this with my homespun yarns
That’s brilliant. It’s like darning the whole sock, not just a hole in one.